
Candelabra Wedding Centerpiece
A Candelabra adorned with foliages and flowers can be a most dramatic Wedding Centerpiece. In this video how-to demonstration Leanne teaches the mechanics and techniques for faultless construction as she creates a stunning centerpiece using the Oasis Floral Products Netted Garland. The finished candelabra centerpiece filled with Garden Roses, Dahlias, Cockscomb, and Gerbera Daisies is absolutely stunning. Enjoy!

Welcome to the Flower School.com video library. I'm Leanne Kesler, Director of the Floral Design Institute, and today I want to chat with you about wedding candelabra centerpieces. You can use the tabletop version or even the very large oversized. Either way this technique will make them fabulous.
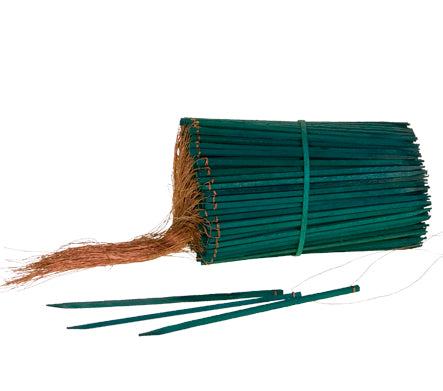
The base mechanics utilizes the grand oasis netted garland. It's pre-caged, so you don't have to worry about it shattering. I pre-soak it using flower food to make sure that the nutrients are there for the flowers. Then one tip. When you're working with this, it can twist and roll on you. If you want it to stay straight or to stay facing forward, use a wood pick and just pierce from one cage to the other and that will lock them in place so that they stay straight.
I've draped the garland cages around and then added wood picks to these two cages to get a nice angle as it trails to the tabletop. To create added fullness in the front, I'm going to take this piece, thread it over, and then zip tie it into place. That'll give me more surface area right there in the front to add luxurious flowers.
Rather than using dozens of individual placements, I like to use long foliages like the Italian Ruscus. Give it a cut, and then insert it into your garland, and then wrap it around feeding it through, and then using greening pins just anchoring it in place here and there to make sure that it'll stay put. Then come back with another bit trailing down through the bottom, and some of those you don't even need to anchor. They'll just stay. Then coming back with additional varieties of foliage. Maybe some Salal, and that too will help anchor it just by piercing through. Maybe even a little bit of Oregonia to get a variegated look. The more types of foliage, the better as you fill this in.
To celebrate the exuberance of the summer season, I'm going to work in a polychromatic color harmony. Five or more colors is the definition, so I have red, yellow, orange, pink, purple. All kinds of fabulous flowers: Dahlias, Roses, Gerbera Daisies, and now it's the easy part. You just give them a cut and place them thinking about a pattern as you're working so that you end up having an organized look. Isn't that a gorgeous Dahlia? Absolutely stunning, maybe bringing it up towards the top. And these Garden Roses are so voluptuous. Such a high petal count. Bringing that in, and with the Oasis Garland Cages, I have a fabulous water reservoir that's going to hold these so well. The hot pink Gerbera Daisy, bringing it in juxtaposed with the orange. Isn't that beautiful, orange and pink together? Bringing back the purple with this sort of magenta carnation. Using them short, tucking underneath, building depth in the design, maybe grouping two together. And as I work, just gathering the blossoms all the way down, let them trail to the tabletop.
As you're working, take a close look, watching for gaps because you want to be consistent, full, and lush, and whenever you see something that's maybe not quite as full, go back, add in another blossom, and then continue on making sure you've got your colors throughout. Finding a little spot where the foam cage exists, again, tucking down low to create depth. Bringing in the Gerberas. They're so happy. They just go so well with a polychromatic harmony. Sequencing out to the tips so it's a little bit more delicate, and then going back and adding maybe more of that orange Garden Rose to get that vibrant red in here and a couple more dahlias 'til it's perfectly saturated with color.
Depending on your delivery capabilities, you may create this garland just flat on the tabletop, not on the candelabra, and then when you get to the venue, just drape it across and zip tie it in place. Now if you do that, make sure you always take a few extra blooms because once you lift it from the tabletop and drape it across, sometimes you'll find a little gap that doesn't look good and you can go back and add another blossom.
As the final touch, the addition of candles. I'm using battery operated because so many venues don't allow true open flame any longer. Setting them down into the votive cup. Now this is definitely a statement piece. It's not inexpensive, and I know you're looking at it and going “oh my gosh”, but it can be done in a number of different price points. You could do it with just foliages and it'd be stunning and beautiful and natural for less money, you could do it with just a few flowers dotted in, or you can do it luxurious like this with flowers galore.
What a grand time to be a florist. Flowers are abundant and people are loving the luxurious look. For more creative inspiration and demonstrations on how to do luxurious floral designs, check out the website, Flower School.com. The website contains hundreds of floral design how-to videos, floral design classes, online floral classes and DIY Flowers. If you've got questions, you can reach us through there or by telephone at 503-223-8089. And now it's your turn. What are you going to create this summer season? Take a picture and send it to my email, leanne@floraldesigninstitute.com and then post it on social media and tag us so we all can see. Have fun and do something you love.


