
Summer Tropical Wedding Bouquet
Summer-bright, long-lasting, and fabulous. A tropical wedding bouquet is perfect for a summer wedding. In this Flower School How-To video Leanne shares numerous tips and techniques a she creates a dramatic hand-tied tropical bouquet. Heliconia, Anthurum, miniature phalaenopsis orchids, pincushion protea, kangaroo pods, lavender, and roses combine to complete this sensational bouquet. Enjoy!

Video Transcription
Welcome to the Flower School .com video library. I'm Leanne Kesler, director of the Floral Design Institute, and today I'm here to share with you a summer tropical wedding bouquet. Bright, elaborately fabulous, and so vibrant in colors. It's sure to be a favorite.
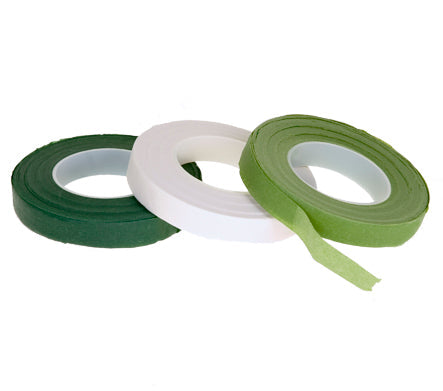
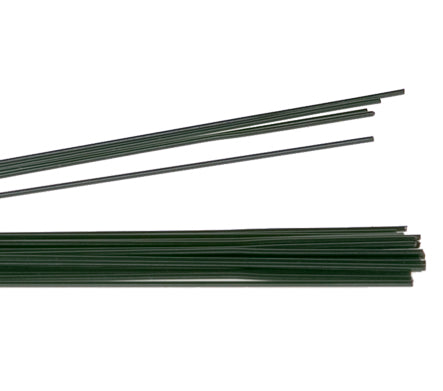
Before you begin, you want to prepare all your materials. Make sure that all the roses have the leaves and the thorns removed. The pincushion leucadendron, go ahead and remove the side shoots, the leaves, so that you have a nice clean stem to work with. You don't want all that extra. Big bulky stems, like the heliconia, pull it apart. You want just the bloom. You don't need all the rest of that. Then you can cut it down, make it a little shorter, so it's more manageable to work with. With the anthurium, you might want to mold it. You'll find tips and techniques for this on our Tulip Tuesday playlist. But just massaging until you get it angled right the way you want. For shorter stems, clustering them together. Lavender's a perfect example. Cutting the stems at a strong angle. Then using an 18-gauge wire, tape them together using corsage tape. By cutting it at an angle, the ends of the stems will taper as you go down, so you don't end up with a huge clump right at the very bottom. Just tape it down, then cut it to the length you need.
As you begin your bouquet, you might want to add some foliage to add dimension. Aspidistra works really well, but I don't want it extended. So, I'm just going to fold it over and staple it. The staple won't show when I'm done. Just tuck it in there. Then start with your biggest blooms. Pick something for the center, the heliconia's perfect, and then embrace it with the aspidistra leaves. Then thinking about a spiral, adding another stem, and then maybe one of the pincushion protea. Maybe a rose. And spiral as you work. You can group things. If it slides down, just pick it back up, pull it in. Spray rose. The kangaroo paw adds wonderful texture and a little more color dimension.
Turning. Even simple flowers, the classic carnation, gets a color contrast in there. And turning. Maybe adding another aspidistra, another heliconia. Turning, and thinking about your color contrast, making sure you've got a little bit of each color all the way throughout so that it doesn't look spotty. And different varieties also throughout. Then turning, bringing in more, until you get the beauty that you desire.
As you're working, try to determine which is your front and which will be the back. Because, for example, the anthurium, they're so beautiful, but I really want them to show well. So, I want to bring them in, in what will end up being my front. Maybe group two of them together with a little bit of space between them so there's dimension. Can bring in a bloom underneath to make sure that dimension stays, always following that same spiral pattern. Then turning, bringing in a few more blooms. Some of the bright orange. And again, maybe more of the kangaroo paw. The red picks up the red of the anthurium so well. Then turning and continue till you've used all the flowers you want and double-check by looking in the mirror that it stays balanced.
Now that I've balanced and I know my front, want to bring your eye down just a little bit more with one more anthurium, making sure that it tucks down. Almost like if it was in a vase, it's breaking the line of the container. But it just carries your eye on downward. Then to finish it off, this is where you would add your little delicate blooms. Maybe some of the lavender. It's so tiny with the wire, you can just find a hole and squeeze it in right where you want it to be. You could also add it from the outside, following the same spiral. And since it's wired, you can give it a little bend. Maybe bring it up over towards the back, pulling that deep purple through. Again, finding the perfect little hole. Then I saved this single orchid. Beautiful. And tucking it in, just to add a splash of that vivid yellow color right in the center.
To cover my mechanics and to conceal all the stems, this is where I go back and add a little foliage. This time maybe some longer aspidistra, but it's actually variegated to add a touch of brightness. Maybe a few... the ribbon grass, following through with more of that variegation, making sure they all curl in the same direction. You don't want them to cross each other. Maybe a fatsia leaf, giving you that large substantial base. And then repeat that, turning it, bringing it around, adding a few more leaves, a few more grasses, and a few more fatsia.
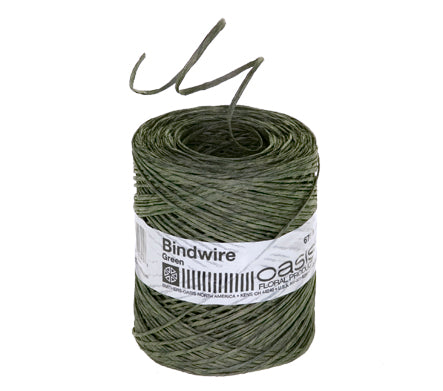
I bound the stems off using bind wire to secure everything in place. Then I cut it about a hand and a half-length. Two hands would be too much, one too little. So, a hand and a half is about perfect.
The recipe: three of the heliconia and three of the anthurium; one of the miniature phalaenopsis, then three of the orange pincushions, three of the kangaroo paw, a bit of lavender, three clusters then, I had five hot pink roses and five orange spray roses, seven lavender carnation, and then five fatsia leaves and five aspidistra leaves. Now, don't forget I tucked in three of the bigger green aspidistra at the very beginning, and then the last touch was the ten strands of variegated lily grass.
A summer tropical wedding bouquet: so bright, so festive. And one of the beauties of working with tropicals is they last so well. So, pick your favorite colors, pick your favorite flowers, gather them together, and design professionally. Now, as you finish, you want to make sure that you think about the stem length and the bulk. Cover your mechanics. Make sure it's all hidden with leaves. Even the band where I tied it off with bind wire. Cover that over. It's those little tips that make your work super fabulous.
Now, if you want more creative inspiration, check out the website, Flower School .com. If you have questions, you can reach us there, or pick up the telephone and give us a call at 503-223-8089. Now it's your turn. What are you going to create with the fabulous tropicals? Be sure to take a picture, hashtag Floral Design Institute. That way we all can see what you do as you do something you love.


