Christmas Touches
Is your home space too small for a traditional Christmas tree? Do you need a festive winter design to grace a side table or share as a wonderful hostess gift? If that's true, then FDI Instructor Michelle Headrick AIFD PFCI has you covered! In this step-by-step tutorial, Teacher Michelle uses an assortment of winter materials and a trio of silver ornaments - enhanced with a bit of sparkle - to create a bright and beautiful design that can be easily adjusted to fit your holiday color scheme.
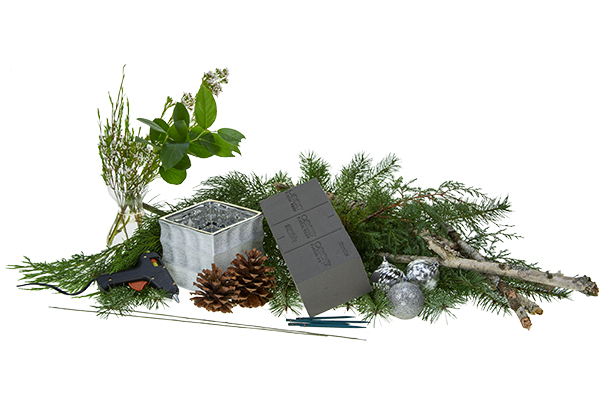
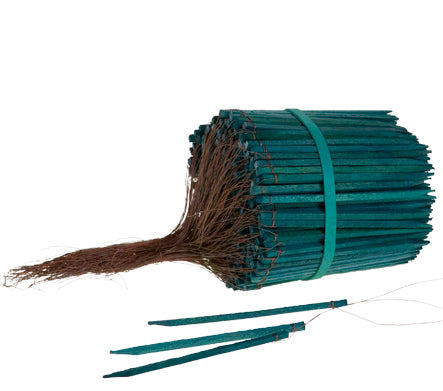
STEP ONE: Materials: Assorted evergreen branches (including Douglas fir, juniper and cedar), white bark birch branches, salal tips, Ponderosa pine cones, glittered birch twigs, waxflower, metallic silver ceramic container, Oasis Midnight floral foam, three holiday ornaments, wired wood picks, 18 gauge floral wire taped with corsage tape, and a glue gun (optional).
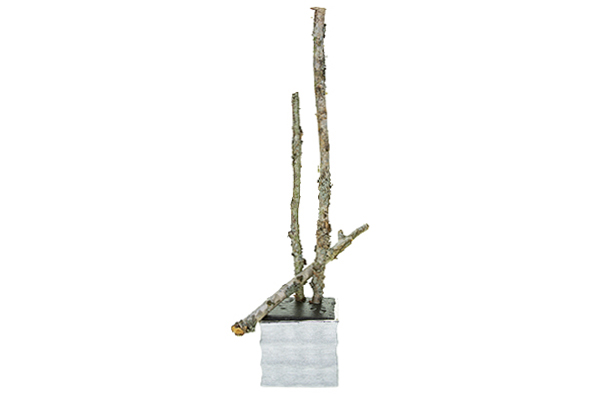
STEP TWO: Begin the process by soaking the floral foam in water saturated with flower food. Teacher Michelle selected Oasis Midnight foam because it disappears into the design when completed. Establish the height of the design by securely placing two of the birch branches into the foam, nestling the third one in between them.
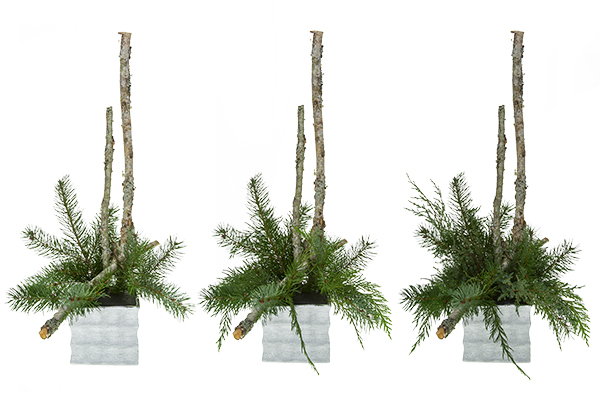
STEP THREE: Create the base of the design by inserting assorted evergreen foliages. Teacher Michelle chose three varieties to use: first Douglas fir to set the form, then some draping cedar, and lastly some sprigs of juniper.
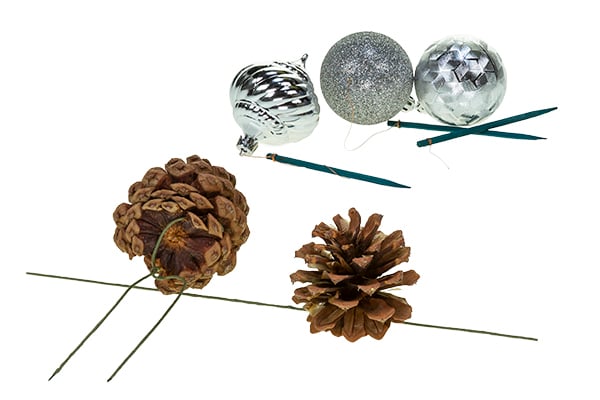
STEP FOUR: Now prepare the pinecones and ornaments. On the pinecones, wrap a piece of 18 gauge wire around the base of each cone, and twist to secure. For the ornaments, feed the wire of a wired wood pick through the hanging loop on the ornament “crown” and twist to secure it.
Tip: This design uses small, lightweight, unbreakable ornaments. If using larger or glass ornaments, Teacher Michelle suggests removing the crown from the ornament, placing a bit of hot glue on the top of the ornament, then replacing the crown. This process ensures that the top won’t pop off.
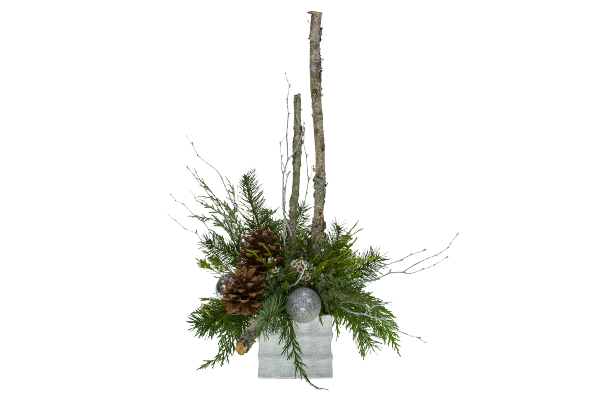
STEP FIVE: Insert the pinecones into the design, terracing them for depth so they complement the wood tones of the birch branches. Tuck the trio of silver ornaments into the design at various heights and locations to add rhythm. For a bit of color and contrast, add a few sprigs of waxflower.
To brighten, insert glittered birch twigs for a bit more sparkle and to enhance unity in the design.
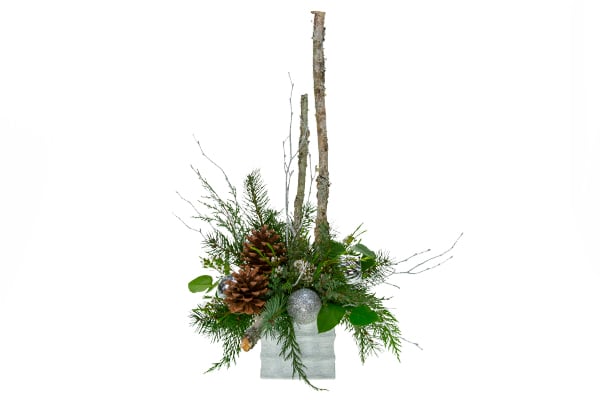
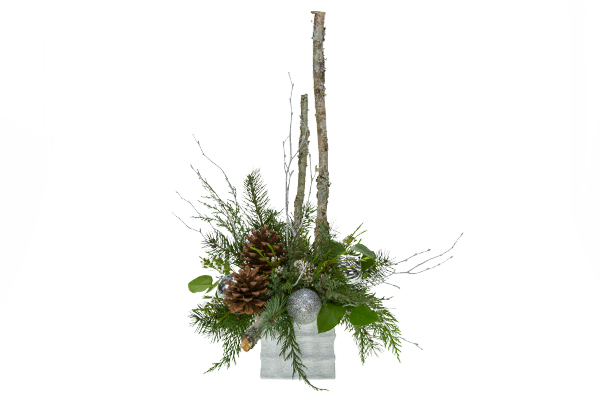
STEP SIX: Lastly, tuck in a few small stems of salal tips for a different texture and shade of green. Then be sure to top off the water in the container to keep your design fresh and beautiful.
Thank you to FDI Instructor Michelle Headrick AIFD PFCI for sharing this festive and sparkly holiday design! If you would like to lean more, join us in the Classroom or Online and study the theories and techniques of design with the Floral Design Institute Teachers.