
Autumn Floral Pumpkin
A large pumpkin combined with fresh fall flowers, foliages, and colorful autumn leaves makes a beautiful, grand centerpiece. In this how-to demonstration Leanne shares the techniques for creating a unique floral pumpkin design, perfect for autumn entertaining. Enjoy!

Video Transcription
Welcome to the Flower School.com video library. I'm Leanne Kesler, director of the Floral Design Institute. Today I'm here to share with you a fabulous arrangement in an autumn pumpkin.
To begin, you want to determine where to cut the pumpkin. I measured ours. And using the Fibonacci sequence, the same thing that we teach in Advanced Floral Design, determined where the most beautiful cut point would be, which was right along this edge, marking it with a felt marker and then using a saw to cut through. I have a nice clean cut so that I've got the beginnings. Then using an ice cream paddle, scooping out the seeds, so I have a clean pumpkin to begin with. Doing all that preparation ahead of time, you can even do it a day ahead, and that way you're ready when it's time to design.
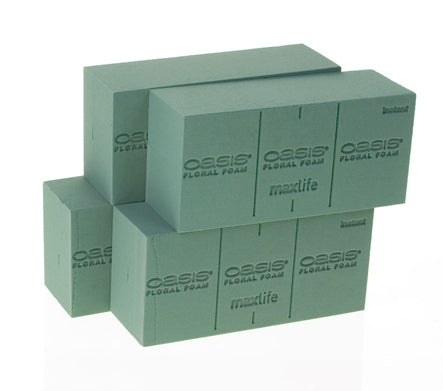
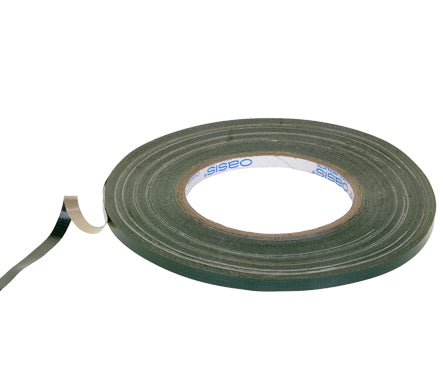
I fill the interior of the pumpkin with Styrofoam, creating a false bottom. There's no reason to fill that entire thing with foam and water. Setting in a piece of Styrofoam, forcing it down flat, then a second piece. Then using a design tray that fits perfectly inside, I totally filled it with floral foam, two pieces, taped down, and then just setting it. Normally you wouldn't use quite so much foam, because you want to be able to go back and add water. But as I add the lid, there's going to be no way to add water, so just getting a nice solid surface is good. Design trays come in a variety of sizes, so you can do a small pumpkin, a giant pumpkin, or the regular size like I did here. T
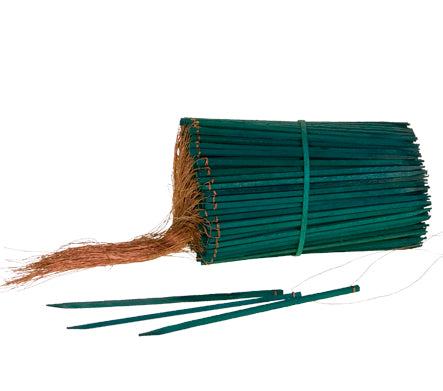
hen when you're ready to place the lid, it's going to go right on top, nestling in. But you need to secure that using wood picks. They come with a wire on them. You can leave the wire or take it off. And then the Oasis floral adhesive, because that will bond to the lid of the pumpkin. Just take your picks, place them into the shell, then add glue. Do that four times, and then set it in place.
For the flowers, I chose some textural beauties: celosia, pincushion protea, hypericum, leucadendron, and autumn leaves. All of this together will be just stunning. I can cut it very, very short. It doesn’t need long, just two inches to get into the foam well. Then place that directly in. You can see how that color just explodes against the pumpkin. The pincushion protea, again, just as long as you have a two-inch insertion. Then placing it in tightly against.
Do that with all your materials. You can group them. You can adjust a little bit. Have some a little taller, maybe two of the pincushion towards the front, and then coming back with a little more of the celosia. Get a solid tapestry of color all the way around, just using a variety of materials, tucked in tightly so that you don't have to worry about the foam showing.
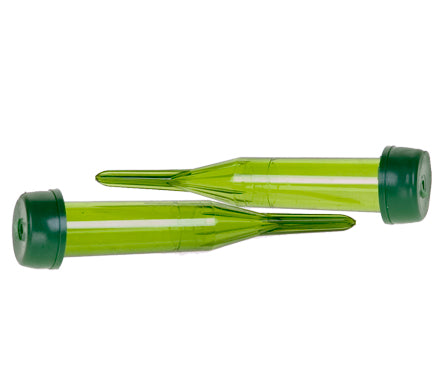
Once you have your tapestry in place, coming back with orchids to brighten and add a little bit of drama, using a water tube. Give it a cut, so it's not too tight. Slide that in. Then place it right into the foam with the flowers, adding that little touch of elegance. A few orchids can make all the difference in the world in this particular bouquet.
As you finish, add a little delicate touch with autumn leaves, cutting them down and letting them come out a little bit longer and fuller. Then as they dry, they'll crinkle, give another set of soft texture to the design.
Then turn the design. Look at it from all angles. See where else you might need another flower or two, just to make sure it all stays put. Maybe put both of these over here. A little bit of celosia, bringing it around to the back to finish this side, as well, and then adding extra leaves until you're satisfied with your creation.
You can stop here or add just a little twist of ribbon. Doesn't take much. Cutting off a segment, dovetailing both ends, and then just knot that right around the handle. No true bow, don't want it to be that formal. Just a little tuft of ribbon, fluffing out the center point and tucking it down. And then pleating it so it gives that little last bit of color at the top.
The question is always, how long will the pumpkin last? It lasts much like any arrangement. You're going to get five to maybe seven days with this. But one tip, always set the pumpkin on a plate or a platter of some sort. That way, if it does start to rot at the bottom, it won't hurt the furniture.
For more creative inspiration, check out the website, Flower School.com. The website contains hundreds of floral design how-to videos, floral design classes, online floral classes and DIY Flowers.
If you've got questions or you need to purchase supplies, you can do so through the website, or pick up the telephone and give us a call at 503-223-8089. Of course, you can always use my personal email, Leanne@FloralDesignInstitute.com. I do love to hear from you.
Then I'd like to see what you create. Take a photo and post it on social media. Tag Floral Design Institute, and let us all see. For now, it's your turn. Have fun, and do something you love.


