Elegant Christmas Centerpiece
It is so exciting to see the many different design styles used in holiday design. Everything from whimsical novelty to lavish bespoke garden style. But, sometimes nothing but classic elegance will do. In this video Leanne demonstrates how to create a sophisticated, contemporary centerpiece in a green and copper palette. Enjoy!
Video Transcription
Welcome to the Flower School.com video library. I'm Leanne Kesler, director of the Floral Design Institute, and today I'm here to share with you a contemporary centerpiece. Perfect for the holidays, but not your traditional red and green. Just lots and lots of green.
As I was going through the shelves, I found my favorite urn. And it was green. So how perfect is that? Then I gathered evergreens. I love the scent of the season. So I have pine. That's one of the most fragrant. And then noble, just for that full, lush look. And then also some cedar, for a little bit of draping.
So to begin, put the greens in. And I'm going to work around. When you do your foliages, if you'll scar the ends down, exposing the inner wood, they'll last so much better. Just placing it down in. This noble is so full. It's just fabulous. And radiating out, from a central binding point, to allow room for all the flowers, keeping it very classically round. I want to do almost, but not quite, a Biedermeier style.
To enhance, the magnolia is fabulous. You can use it with the shiny green or the suede butterscotch. I'm going to use the butterscotch. It's so grand. You can use it as individual leaves or as a stem. It doesn't really have to have water, so I just cut it. And then placing it in. You can see how that brightens so quickly. Breaking down, determining where's a good spot. And then maybe removing any leaf that looks the direction you don't want it to. And then placing it in.
If it's a little too short, it's perfectly fine to go ahead and add a pick to it. Using the pick machine. Just sliding it forward. Planting it back. Adds that artificial stem that extends and lengthens so that you cans slide it into place. Or even just the individual leaves. Doing a couple of them together. Clamping it. And then setting it right down into the foam.
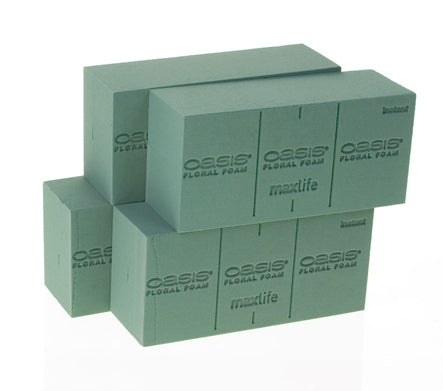
Now the miniature hydrangea. These are so long-lasting. If you have trouble sometimes with hydrangea, try the miniatures. They're heads are a little smaller and so they just seem to hold better. Now, you still want to get them deeply into the foam, so that they're going to fully drink. And make sure the foam is fully saturated. This container has a great water reservoir, so as long as I insert them well, they're going to last easily a week, maybe a little bit longer.
Tucking it down in. You can see the leaves blend in, give a different look. Finding a hole to get it down deeply. And place some to the front. Some to the back. Some to the top. And some to the bottom.
Of course, I have to have roses. They're so gorgeous in this beautiful green color, with just a little bit of copper right in the center. Tiny bit. Again, giving them a cut. And then placing them down in deeply so that they'll drink. Finding the perfect little hole.
I'm keeping everything flush, making it very, very compact. It's a little bit different. With all the trend of bespoke these days and that wild and carefree look, going with a compact Biedermeier styling gives it a whole different look. Lots of formality. And it truly is proving to be one of my favorites. Just a little bit different. Make that a little bit shorter. And then again, bringing some to the top, some to the bottom, and radiating around.
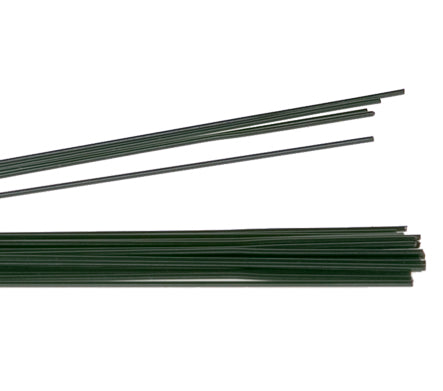
To finish off with the essence of the season, I want to add just a little bit of sparkle and a little more nature. Pine cones are always fabulous. Using an 18 or a 20-gage wire and just feeding it in between the teeth and then twist. You can set it right down in. I have these fabulous orbs in copper. I just stuck a wood pick, wired that in and then that can nestle down in. And then some shiny, shiny faux magnolia. So they're a silk item, and they put a wood, or a steel pick on that. And then placing that in to brighten up. Adding just a touch of sparkle, and then continue on. More cones, more orbs, and more leaves.
As I was working, I mentioned the term Biedermeier. Now this is not a true Biedermeier, but that was the inspiration. And if you've had classes with me, you know that Biedermeier is a round, formal design with flower to flower to flower to flower, no negative space. It's very beautiful. Look it up online. You'll see so many samples, and you'll fall in love with it, just as I have.
For more creative inspiration, check out the website, Flower School.com. The website contains hundreds of floral design how-to videos, floral design classes, online floral classes and DIY Flowers.
If you have questions, you can reach me through there, or by telephone at 503-223-8089. And of course you can always use my personal email, leanne@floraldesigninstitute.com. I'd love to see what you create. So take a photo, post it on social media, and tag #FloralDesignInstitute. Let us all see it so we can see the beauty in your life. Now it's your turn. Have fun, and do something you love.


