On Trend Wedding Wrist Corsage
Welcome to the Flower School .com video library. I'm Leanne Kesler, director of the Floral Design Institute, and today I want to share with you an on-trend wedding wrist corsage. You've seen cuffs, but, don't forget, ribbon is still in style.
The base is a sparkly ribbon. Tie it in a bow, adding an extra set of streamers that'll be used to tie it on. If you need instructions on bow tying, check out the website, Flower School .com, there's several videos there. Then roses, spray roses that I'll just clip flat so that there's no stem at all. A couple of ruscus, leaves just to have a nice bit of green. Then, to keep it in style, some tiny, tiny pieces of dusty miller and a single fabulous succulent.
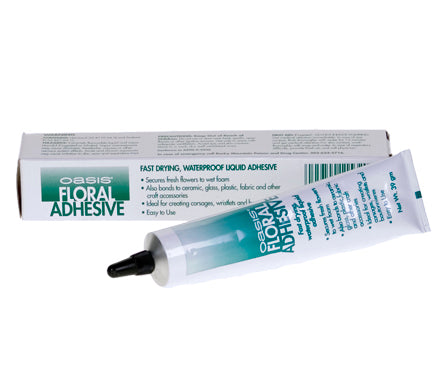
To secure all the flowers I'm using the Oasis Floral Adhesive. Just take a bit and put it on the base of the flower. Just a tiny bit, it doesn't take a lot. Then let it set, it needs to dry. Do the same thing with the succulent. Just a bit of glue, making sure to catch all the leaflets because they're a little fragile. Then a tiny bit on the ruscus and some on the dusty miller. Starting with the leaves, because they're so lightweight, just tuck it right down in between the loops of the bow. You can see how it starts looking beautiful. You're building a little nest to support all your flowers. Then once you've got some of that in place, you can go back and begin tucking in your roses. The technique is to dab in, get a little glue, pull it back out, and then put it back. That way you get glue to glue, which makes it extra secure.
The succulent is the heaviest, so it needs to be centered well so that it will balance nicely on the wrist. Then bank the roses around it to add in the color. Again, tapping and pulling, tapping and pulling. Adding a little bit more of the dusty miller, just making sure it's wedged right in between the loops. Then just a tiny bit of pressure on each item to make sure that it will stay as it dries.
The wrist corsage is fast and easy. It's about two yards of number three ribbon, one stem of spray rose, one small succulent, two leaves of ruscus and just a few bits of dusty miller. Oh, so easy. When you're finished, spray it down with Crowning Glory. Just spray it right on, it won't hurt the ribbon, and let it dry. That will keep the roses fresh for as long as possible.
Flowers to wear are back on style. It could be a shoulder corsage, it could be a cuff, or it could be a ribbon-based. Any way can be a lot of fun and make you feel like a princess when you tie it on. For more creative inspiration, check out our website at Flower School .com. If you have questions, you can reach us through there or pick up the telephone at 503-223-8089.
Now it's your turn. Find your favorite ribbon, some wonderful flowers, and make a wrist corsage. Take a picture of yourself wearing it, I'd love to see. Post it on social media and hashtag Floral Design Institute. That way the entire Tulip Tribe can see what you create as you do something you love.


