
Summer Wedding Bouquet
Summertime is wedding time, and for the professional floral designers it is a time for innovation and creativity. As professional designer we must stay ahead of the consumer. In this Flower School How-To Video Leanne creates a fantastic wedding bouquet in a casual gathered style and complementary color harmony. She features Phalaenopsis orchids combined with a gathering of summer blossoms built upon a clustered gathering of boxwood. Toffee roses, cappuccino roses, Queen Anne's lace, wax flower, Butterfly Ranunculus, various grasses and a collar of fatsia complete this beautiful bouquet. Enjoy!

Video Transcription
Welcome to the Flower School .com video library. I'm Leanne Kesler, director of the Floral Design Institute. And today, I'm here to share with you a wonderful summer wedding bouquet.
The flowers I chose to work with started with these lovely light green phalaenopsis orchids. Then I found the grasses, and the boxwood, and I got all excited. But I didn't want to work monochromatic. I wanted to enhance. So thinking about the color wheel, the compliment to green, directly opposite is red. So I looked for colors that would coordinate, the butterfly ranunculus, perfect. Toffee roses, also in that reddish hue. Cappuccino, the two together, a truly wonderful complimentary harmony.
For mechanics here are so many options. You could do the classic spiral. You could move into the contemporary netting using an armature, but today, I'm going to work with a very casual gathered style, basing it on short compact boxwood, which will give me a wonderful nest to build with the bouquet.
This boxwood is a locally grown item. You may have to substitute a different foliage, but you want something short and dense. So it gives you this wonderful base. Then, just adding your blooms, prepared ahead of time, no thorns, the leaves removed, and you can feed it straight down through. Some can actually just come beside, like you were creating a spiral bouquet, but notice that I'm giving space, I'm letting it have a variety of layers, so that not everything is the same height. And I turn and work through and feeding in. And again, putting some low, creating depth in the design, and I can come back and add some height by tucking in grasses, letting it be a little taller, and grouping several. When you group, it gives more value, draws attention, makes it more important. It doesn't look like an accident, and you can see that green coming up, pulls the eye top to bottom.
Before I get too far, I better add in my beautiful orchids. I don't want to miss those. That was the starting point of my vision. So feeding it down into my hand. Maybe even bringing the second one underneath to elongate the bouquet, and then creating the line that goes from one side to the other, a diagonal movement. I can exaggerate that by tucking in grasses, picking up the deeper hue of green from the boxwood. So many different choices as you work. Tucking things in, then going back, adding additional roses, adding additional grasses, and fill the bouquet in. And of course, the cappuccino, just to give a little contrast in color, feeding it in, they're a little smaller. So maybe letting it be a tad bit taller and grouping there as well.
As a final touch, the butterfly ranunculus, letting them come in over the top, finding the perfect hole to feed them in, then grabbing it and pulling it down from the bottom. Maybe even a little longer, so that they dance over the top. Maybe a little bit of Queen Anne's Lace for texture. Again, letting it be a little longer, finding the perfect spot to feed it in. Twisting until the face looks the proper direction. And then picking up more on that redder hue with a little bit of wax flower, letting it come out, adding dimension, and bringing the color throughout.
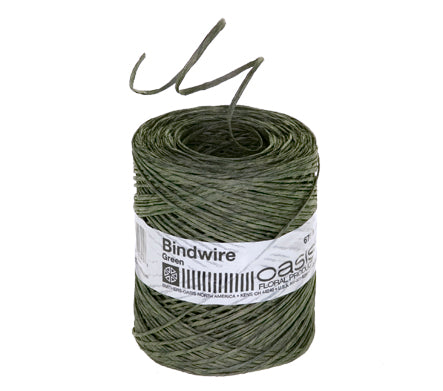
To completely hide the mechanics, and finish the base of the bouquet, we use fatsia leaves, again, that deep green hue accenting all the blooms, and giving a little bit of a cushion between the hand and the bouquet. Once that's in place, using bind wire. I'm tying it off securely before cutting the stems short.
The recipe for this bouquet, remember it started with the boxwood base. I used an entire bunch, and then there were the two stems, or the phalaenopsis orchids. Everything else, 12 toffee roses, four cappuccino roses, three of the Queen Anne's Lace, seven of the grass, three stems of wax flower, four stems of the butterfly ranunculus, three of the lily grass, odds and ends. You can adapt. You don't have to have threes, fours, fives, 12s. This is a type of bouquet that you find those perfect blooms, and then mix and match the count until you're delighted.
Working with complex hues gives you so much creative freedom. Don't forget to pull out your color wheel. Oftentimes that's the secret to making sure that the palette is perfect. For more creative inspiration, check out the website, Flower School .com. If you have questions, you can reach us through there or pick up the telephone and give us a call at (503) 223-8089. Now it's your turn. What are you going to create using the complex hues? Be sure to take a picture and post it on social media, hashtag Floral Design Institute. That way we all can see what you do as you do something you love.


