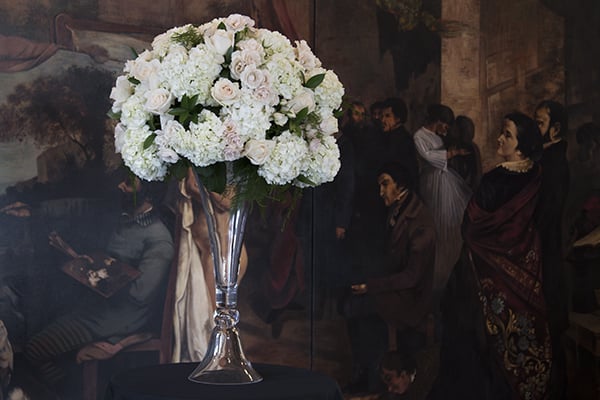
Tall Wedding Centerpiece
As a Floral Designer, creating tall wedding centerpieces for the first time can be stressful. In this week’s Flower School Slide Show, FDI Instructor Jeri Barr shares some professional mechanics and a step by step guide to help you create dramatic, long lasting and mechanically sound tall wedding table flower arrangements.
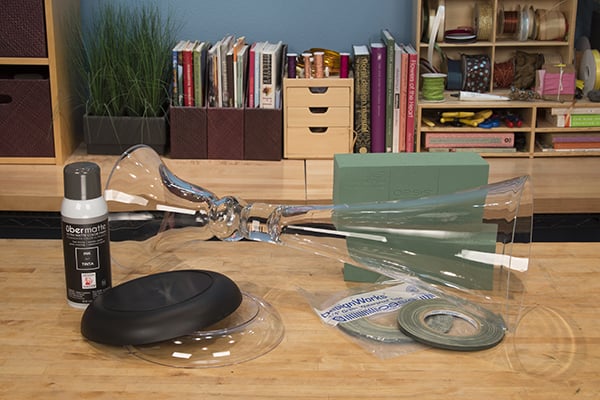
STEP ONE:
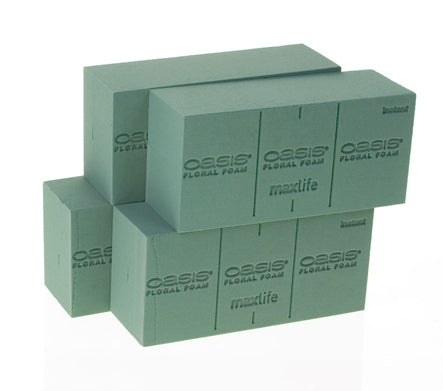
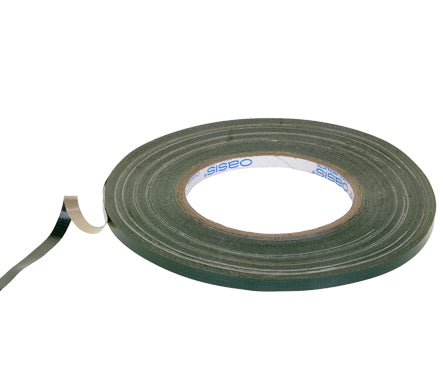
To begin, start with a tall vase (in this case, a 24 inch clear glass trumpet vase), green waterproof tape, two bricks standard wet foam and two 9” Lomey dishes. Spray paint one dish to coordinate with the floral arrangement or the event décor.
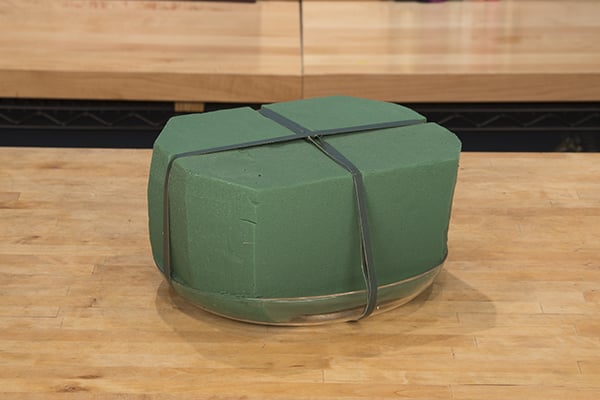
STEP TWO:
Pre-soak two bricks of standard floral foam in water mixed with floral food. Once the foam is completely saturated, place the bricks of foam on the clear Lomey dish and secure with waterproof tape. Hint: Using plenty of tape in an “x” pattern will insure your foam won't come loose from the plate. To facilitate creating a round form, trim the top corners of your foam to fit your dish and create a rounder shape.

STEP THREE:
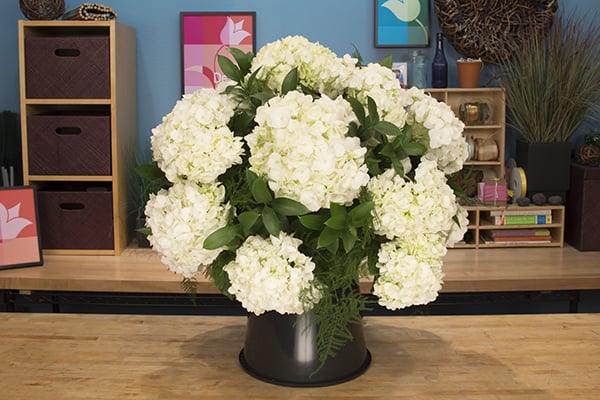
Once your mechanics are in place it’s time to start inserting your blooms. Place your dish and foam on an over turned bucket or sturdy vase so that your design is off your work table. Start by inserting five of your hydrangea blooms to establish the height and width of your design. One stem at the top and four around the sides. For precision, you can measure each bloom (from center point to the outside of the flower head) once it is inserted to ensure you have symmetrical placement.
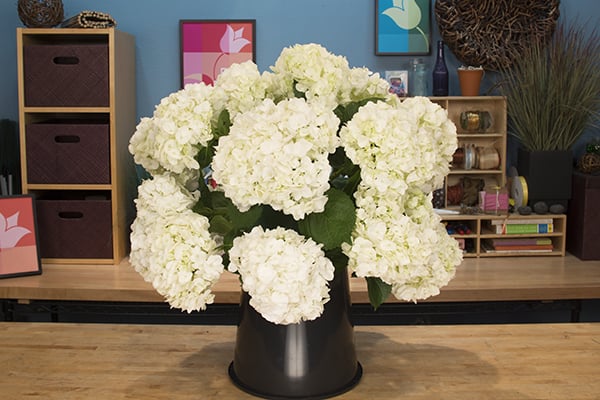
STEP FOUR:
Place your remaining hydrangea evenly throughout the design and continue to create the round form. By radiating from the central binding point you can easily insert the stems at least two inches into the foam for hydration without the fear of running out of insertion space. To create the illusion of a beautiful round orb, place a few of the base level hydrangea at a downward angle. Hint: For easy transportation, place your last few blooms onsite. This allows for transportation flat on the van floor without worry of crushed blooms.
STEP FIVE:
With the form established, begin filling in with foliage (ruscus & plumosa) and work around the design filling in holes and evenly distributing foliage throughout. To break the line of the container and conceal design mechanics, add some of the greenery at the base of the design.
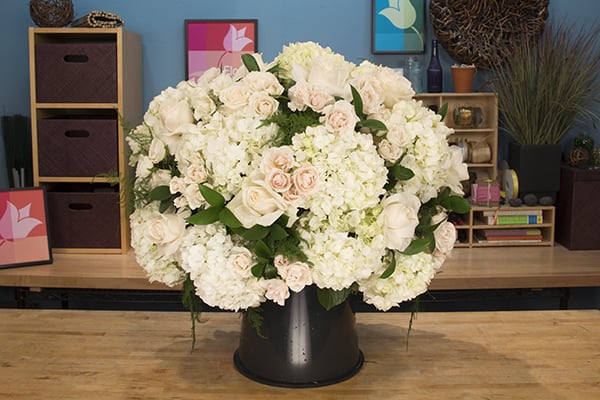
STEP SIX:
The hydrangea and foliages create a strong form and conceal the mechanics. For beautiful contrast, add in additional blooms. The classic favorites, roses and spray roses are perfect. Focus the placement at the mid-level and base of the design. Once elevated, most of the top will not be seen. When the design is done, place it on the elevating vase and view it as the event guest will to ensure everything is placed well. For maximum life, spray the finished design with Crowning Glory and let it fully dry before placing in the cooler.
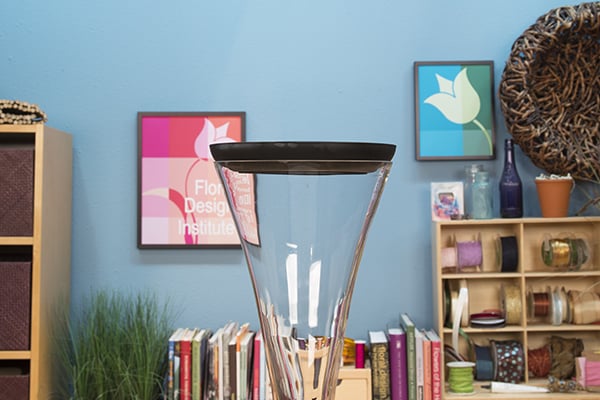
STEP SEVEN:
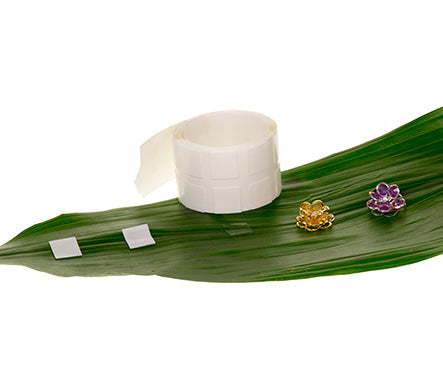
Upon arrival, place your vase and add the painted plate on top. For stability, secure it with Uglu dashes. This is the quickest and easiest way to professionally conceal your mechanics.
STEP EIGHT:
Place your finished design on the top of your vase and painted plate and secure if necessary with additional Uglu dashes or floral clay. Once your design is elevated you may need a few extra greens to finish out the base and ensure your mechanics are all hidden.

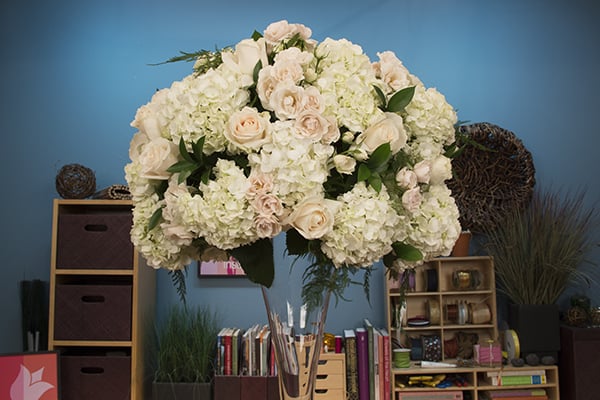
STEP NINE:
The tall, elevated centerpiece is perfect for wedding receptions and corporate events. Stately and elegant, this design commands attention yet does not overpower the dining table. Guests can enjoy the flowers and easily see across the table and around the room. One thing to remember is that as beautiful as this design is it should not be placed in an open, outdoor setting. Because of the high center of gravity and the volume of the flowers they can blow over in a breeze.
Thank you to FDI Instructor Jeri Barr for this stately and elegant tall wedding centerpiece tutorial. If you would like to learn more, join us in the Classroom or Online and study the theories and techniques of design with the Floral Design Institute Teachers.