
Everlasting Nest with Orchids
Phalaenopsis orchids -- on the stem! -- are a glamorous and long-lasting flower, especially when paired with dried and everlasting floral materials. In this Flower School How-To Video Leanne combines dried hydrangea, seeded eucalyptus, fresh spiral eucalyptus & artemisia along with a couple stems of miniature Phalaenopsis orchids for a design that's elegant, on-trend and fabulous. Enjoy!

Video Transcription
At Floral Design Institute, we focus on fresh flowers. But the trend right now so often is in drieds. Pairing them together, foam free, of course, makes a fabulous design. Let me show you how it's done.
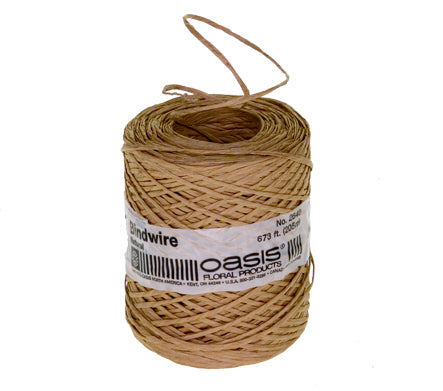
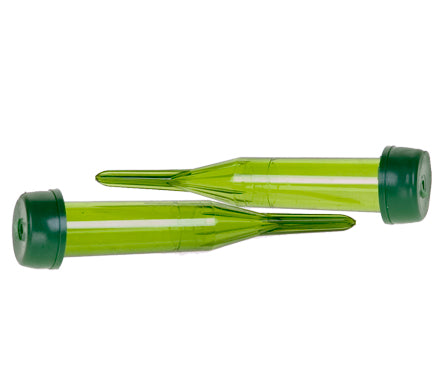
To create this design, I started with a store-bought nest, so just pre-made ready to go, I wanted to elevate it to make it a little more special. So, I created a stand. To do that, just taking bit of river cane, using bind wire, lash it together. Twist securely. Then go back and add the third segment to create the tripod. Then you just set that right in place. For the orchids, working foam free is great. But orchids need water. So, you need little, tiny tubes to make sure to secure them in place with a water source.
To create the base, I start with items that I know will dry fabulously so they can be used now in their fresh format. But then as they fade, they'll still be lovely. Eucalyptus will keep its color. So, it will have that gorgeous blue gray. Just breaking it down and adding just a bit of glue and setting it in place and I can even be kind of careless as I drop it. Doesn't need to have a lot of stability because as I add, each item will glue to the next to the next to the next to give myself greater stability. Then a little bit of artemisia. Artemisia is in the sage family, also blue gray, dries beautifully and a bit of seeded eucalyptus. Now this is naked. The foliage has been removed but gives the texture and a little bit lighter grayed green. Tucking it. You can see filling the nest, adding beauty and lastly, bit of dry hydrangea. Now, this is already dry. I could do it with fresh and it would dry right in place. But oftentimes you have little pieces that dry from an arrangement that you created when it was fresh. You save it and then just tuck it into place. Fill in. Make sure it's full and lush and that you're even front to back and side to side.
The finished nest base is pretty all on its own and will dry and look beautiful. You want to stop at this point. Turn it upside down. Shake it. Make sure nothing comes out because you don't want it to fall apart. I said you could be a little careless and it's okay. A single floret might pop off. That's all right. But you want to make sure that everything stays in place. Once that's sturdy and secure, then the fun begins of just adding the orchids. You want to cut them down so that they'll fit. They don't need to be too terribly long. Then filling in the tube with water, give it a little cut so it's not too tight. Slide your orchid in. Repeat that. Then adding just, a bit of glue to the side of the tube to make sure that it stays in place. Determine where you want it. Just kind of divide the materials and then set it down in. You can do as many tubes as will fit. But I think I'm just going to do the two. It just makes a pretty accent to the finished design. Feeding right through.
With the orchids in place, it's nice to go back and add just a little more substance right in the emphasis area. So here, I'm using a little bit of cockscomb celosia. It will dry, keep its color, and just add a little bulk and texture. Giving it a cut down, then glue on the tip and nestling it in place, tucking it below the orchids and a second piece, finding a home, and just give me a little bit extra enhancement to base the orchids.
The recipe, I started with the base of eucalyptus, seeded eucalyptus, artemisia and a little bit of dried hydrangea. Then once that was established, I went back with two of the miniature phalaenopsis orchids and two bits of the cockscomb celosia. So just two and two in the flowers and then a variety of dryable bits.
The trend that's increasing with dried materials is really a boon to the bottom line for the florist. Many of us have lots of odds and ends of treasures that are perfect for this. Adding in the fresh product makes it even better. You'll find more creative inspiration like this with fresh and dried on the website, Flower School .com. If you have questions, you can reach us through there. Now it's your turn. Look around for the things that you have that are already dried or can be dried. Create an arrangement. Add in some fresh flowers. Take a picture and post it on social media. Be sure to hashtag Floral Design Institute. That way we all can see what you do as you do something you love.


