
Autumn Winds Centerpiece
The seasons are changing, leaves are falling and the winds are blowing. Dried grasses and branches tumble and wind around each other. This was the inspiration for this contemporary floral design. Leanne shares the techniques for winding callas in this magnificent centerpiece. Enjoy!

Welcome to the Flower School.com video library. I'm Leanne Kesler, director of the Floral Design Institute. And today I'm here to share with you an autumn centerpiece. Think about the winds and the grasses blowing and the trees winding around themselves as they get tangled from the autumn winds, and that's the inspiration for this design.
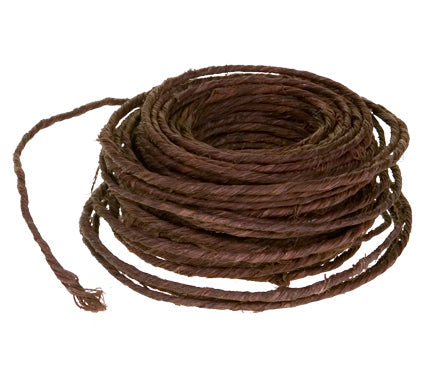
For the design I picked one of my favorite containers but it's not water-tight so I've added just a lining bowl with foam, pre-soaked with flower food and set it in place. Now for the trees I've got some bare curly willow but it's still very pliable, and then I'll also be adding barked wire and helping to secure things with bind wire. For the flowers I'm starting with callas. Now the thing that's unique with these, I want them to be able to wind and twist so they have been sitting out for more than 12 hours without water. There's no water in this vase. So they've been just sitting out and I laid them in the vase to take care of them. The reason I did that is I want them to slightly dehydrate so that I can curve them and bend them. And you need to have them relaxed to be able to do that without kinking. So, I've got callas, foam, bind wire, barked wire, curly willow and we're ready to go.
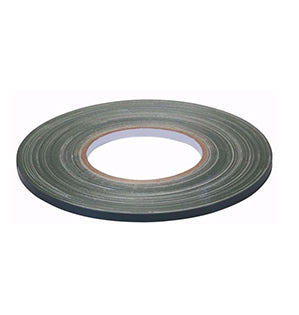
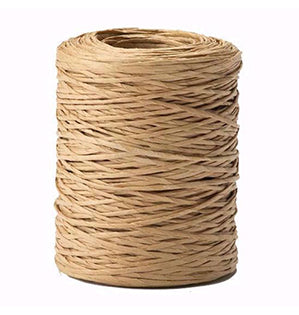
I'm going to start with my willow, creating winding, circular motion. So cutting it down and then placing it directly in the foam and just letting it be wild for the moment. And then I'll connect it to give a circular pattern. Oh, isn't that piece just beautiful? Absolutely fabulous all by itself. So I'm just going to give that a cut, place it in. Another. And I'm just radiating around the central binding point. There's a nice piece. Give that a cut, get it out from the bunch. There we go. Then using the barked wire, giving it a cut and placing it just around, because this will help create a framework for the willow. Inserting it smoothly. Maybe another bit. Bringing it around, back in. Now that I've got it begun I can just start weaving around itself, securing it. And then if I need a little more security, that's where you use your bind wire. Just take a bit, bring it around and then lash it directly to the barked wire. So, between the wire, the willow and the barked wire everything can be very secure, winding and having that graceful movement recommending the feel of wind.
The framework will then support all the callas as they wind around. So taking each bloom and taking a look at it, seeing how the face is moved and then slowly manipulating the stem, giving it even greater curvature. Carefully, so that you don't end up kinking it. And you can see how it starts to drape and that way I can set it in and let it wind with the branches. Now when I set it in it'll start re-hydrating again so it will last really well. It's not a problem. Giving it a cut and then placing it in the foam. Finding the perfect little spot and inserting it a good two inches, making sure it goes down in so it will drink, and then laying it across the branches and just tucking it in.
Coming back with the next bloom, finding the face, giving it curvature, softening it. And this is the type of design you can't do this early. If your callas have not dehydrated you have to wait. So be patient. Don't rush it or you'll be very, very, very disappointed. Again, inserting it at least two inches and bringing it around, tucking it in. If you want to secure it, use a small piece of bind wire and bring it down and you can lash it to one of the pieces of willow to help hold it in place. And repeat that until you get all your callas in place, winding in the same direction. Don't come out backwards. You want to keep it always going in the direction that you started.
Once you have your callas in place you want to go back with a little more bind wire and just double-check. Make sure that they're where you want them to be and if it would be more secure to lash them to make sure they stay, go ahead and just use a little bit. Not too tight. You certainly don't want it to be a tourniquet. But double-checking, seeing if everything's ... I think I'll lash that one too. That way, as they re-hydrate and start to stiffen again they won't move out of the design. It'll stay where you intended it to be. And it just takes a moment but it gives you that last little bit of security.
To fill the center of the design and cover all my mechanics I've got some beautiful hypericum berries, textural celosia and then some fabulous lotus pods that'll give me some substance right in the center creating an emphasis area. So giving them a cut down and then placing them right down into the center, varying heights. And then coming back and tucking the celosia low right in between, making sure it gets in to the water well. And you can see it brightens and adds interest, adds texture and covers the mechanics.
An updated look, winding callas, in a traditional round with the radial format. 10 callas and so much creativity. It's fun when you think about autumn and the season and what is out there, the textures, the branches, and then get creative.
For more inspiration check out the website Flower School.com. The website contains hundreds of floral design how-to videos, floral design classes, online floral classes and DIY Flowers.
If you've got questions you can reach us through there or by telephone, 503-223-8089. You can always use my personal email, leanne@FloraldesignInstitute.com, and I'd love to see what you create. Take a photo, send it to me or post it on social media and tag Floral Design Institute so we all can see. For now it's autumn, it's your turn. Have fun and do something you love.


