
Boxwood Wreath
Wreaths are often the first holiday item to go up around your home - they set the mood for the festive décor to come. We're used to seeing the evergreen conifer versions of balsam fir, pine, and juniper -- but today we're switching that up! In this Flower School How-To Video Leanne invites us to consider more contemporary materials with a traditional feeling, using boxwood and holly with a touch of sparkle. Enjoy!

Video Transcription
The first step in holiday decor? Often the wreath. This time, no evergreens. Let's look at a more contemporary version, but done in a traditional style.
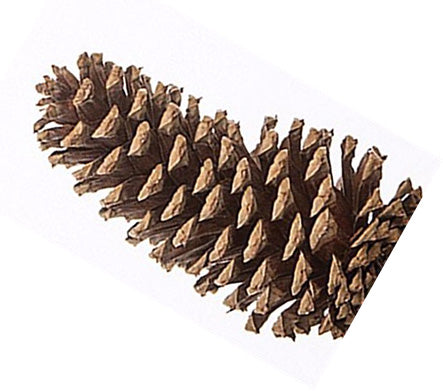
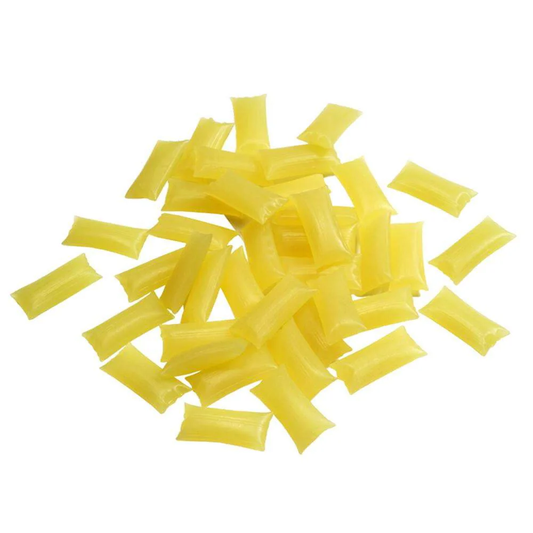
To start with, a handmade Boxwood Wreath. Now, boxwood and these wreaths are created right here in Portland, Oregon. Kind of exciting. I don't make it myself, but when I buy a premade wreath, I look for one that has a double ring on the back. If you did a double ring, they're far more stable. Then you're ready to enhance. And for the enhancing, Variegated Holly, also grown right here in the Portland area. Isn't that beautiful? Then an assortment of glass millimeter balls and Pine Cones. Pine cones are from here, ball's not, so it's mostly local. To put it all together, using Hot Melt Glue in a glue pan. Now, the small pan is convenient for little handwork, but you can also use just a full-size fry pan. The glue, it comes in a pillow like so. You can just drop it in and it melts. It gives you a lower temperature so you don't burn yourself as easily and it adheres quite well to your fall foliages. That way when you assemble, it just all tucks right in, and by using a glue pan, you can use two hands working efficiently.
For the holly, you want to cut it down into smaller segments, just clipping it. I always try to make sure some of the berries are going to show. So clipping around there and down. Then when you're ready, just taking, making sure you've got a nice stem, dipping, then lift and tuck it down into the base of boxwood. A little glue, tuck, and radiate following the same pattern that is already there. You don't want to cross it going the opposite direction. Sort of like when you pet a cat, you don't go against their fur. You just go through. Just keep going always the same direction so you get it nice and full and lush.
With the base all together, then I just go back and I add the balls and the cones, a little bit of glitz. I'm using a matte finish so it's not quite so shiny. Again, just dipping it into the glue. I do clusters. I don't like it to be individual. And then find a spot to nestle into place and repeat. Taking the cones, you can do them individually or group them. A bit of glue. Tuck it. Repeat. And you go until either you run out of balls and cones or run out of space, whichever comes first.
The recipe? Starting with the Boxwood Wreath, premade, ready to go. Then adding in two stems of Holly that I just clipped into small bits. Then lastly, nine balls and nine Pine Cones, all secured in place using Hot Pan Melt Glue.
'Tis the season to make jolly. You'll find more creative inspiration for the season on the website, flowerschool.com. If you have questions, you can reach us through there. Now it's your turn. Find a fabulous wreath base. Enhance it in your personal style. Post it on social media. Always take a picture. #FloralDesignInstitute, and that way we all can see what you do as you do something you love.


