Elegant Wedding Centerpiece
While there are many different design styles of wedding centerpieces, the classic elegance of traditional styling is often the best choice. In this how-to design video Leanne demonstrates a classic oval design style as she creates a gorgeous summer flowers wedding centerpiece. You will love the design techniques and the care & handling procedures that Leanne discusses in this video. Enjoy!
Video Transcription
Welcome to the FlowerSchool.com video library. I'm Leanne Kesler, Director of the Floral Design Institute. Today, I want to chat with you about wedding centerpiece. There's so many different styles out there, but sometimes the classic elegance of the oval is just what you want.
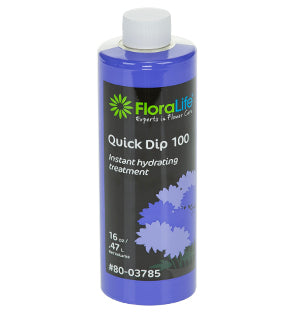
With wedding centerpieces, it's vitally important that you prepare ahead of time. Bring your flowers in early enough that they fully open, because they have to be perfect on the day. You want to treat them with Quick Dip, so they hydrate rapidly and then hydrate them with flower food so that they'll hold throughout the ceremony and the reception without any problem.
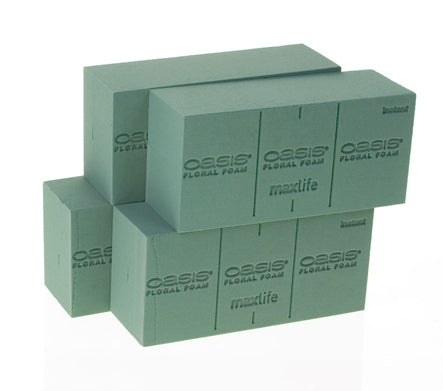
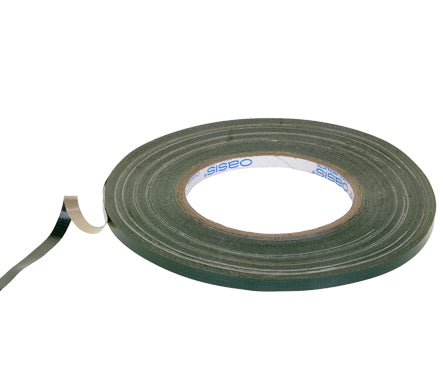
For the container, I look for things that have a large water reservoir. Again, they can hold well. Plenty of foam, so I can anchor all these thirsty flowers. Then, tape that in securely. I tape from one side to the other because it's easier to hide the tape markings when you're working, leaving the center clear. Then, score the edges. You don't need these big corners. You just drop it down inside, then go back and add water. Then you're ready to design.
Hydrangeas can be a scary bloom to work with. They're so thirsty. I find when I get them in, I Quick Dip them, remove any damaged foliage. Leave the other, because it helps to draw the water up. Then, the trick. Once they're fully hydrated, Quick Dip, flower food, the whole thing, I like to leave them 48 hours. Minimal of 24, but if you can leave them longer, they're even better, so that they're fully hydrated.
Then, when you go to design there's one more trick. Give it a cut, just like you would when you're going to put it in the foam, but before you do that, dip it in Alum. Just take a dip and then place it into the foam. I'm not going to ... I'll just set it there for now because I'm not really designing. But the Alum is a pickling spice. You can find this at the grocery store and this is what will keep them hydrated throughout the day.
To begin the design, it's not just one hydrangea. Let's set him back in the water, but a little bit of foliage. When working with centerpieces, I love Italian ruscus, it's so long and graceful. I don't want a centerpiece that's like that, but by using this I can take and insert it into the side of the foam. Then, wrap it, coming around, securing it in place with a greening pin.
This takes less foam space, gives you great coverage, but just simple insertion. Then, once you get that one done, you come back, add another. Again, just place it right into the side of the foam, then bring it, wrapping it around, greening pin in. That ones will stay with just one. The last one, cutting in in pieces. Could I get a little bit in the center. With three stems of the Italian ruscus, I'm fully greened and ready to go.
The hydrangeas I'm using are actually a mini hydrangea. They're not as big as the blowsy ones that you see, but they have such great color and fill in so quickly. Just give them a cut, dip it into the Alum, place it in, making sure it goes down a good two inches into the foam, because want it down into the water so that it stays fully hydrated without any problem. This container, with this large water reservoir, will make it easy to keep it lovely, but you have the responsibility as the designer, to get it down in fully submerged so they will be down into the water area.
Then, coming back with some roses. True favorite wedding flower. Filling in. I'm just radiating out from a central binding point, following the form, oval, then working on my spacing so it's consistent, from one side to the other, coming out to the end. Some beautiful lisianthus. Then, across to the opposite side. Stretching out that oval.
Once you have the main body established, you can go back and add your more fragile blossoms. Phlox are so beautiful in the summertime and their stems are actually quite sturdy. Again, they're a very thirsty bloom. I try to get them in deeply, a good two inches minimal, just as with the hydrangeas. But you'll find, as a professional florist, the deeper you can get your insertion into the water, the longer your flowers will last.
I also have some beautiful micro, mini gerbera daisies. They're so sweet and delicate. They've been hydrated well, so they're nice and sturdy and just setting them down into the foam deeply to add that bright touch right in the center.
As you finish, look closely where you added the tape to secure the foam. Make sure it's totally concealed. Sometimes, you can take another bloom and just tuck it in close, breaking the line of container and making sure it's concealed, so you don't see that tape. Then, go back with the buds. Tuck them in, letting them come a little bit taller than the other blooms for some softness, but staying in line. Keeping touch with that elegant, oval form and not losing that classic elegance.
With the wedding season underway, the classic oval centerpiece is sure to be a favorite. Now, if you want more creative inspiration, move centerpiece ideas, check out the website, FlowerSchool.com. If you have questions, need moral support as the wedding season is upon you and you're going crazy, don't hesitate to reach out.
You can contact us through the website or pick up the telephone at 503-223-8089. As always, I'd love to see what you create. Take a photo, send it to my personal email, Leanne@FlowerDesignInstitute.com or post it on social media and tag FloralDesignInstitute, so we all can see. Now it's your turn, have fun and do something you love.


