
Elegant Wedding Centerpiece
It is one thing to create a large and lavish centerpiece. It is another to create a centerpiece that is profitable for the designer. In this video Leanne shares valuable information on purchasing for profit, flower selection, and color selection as she creates a gorgeous design in the Bespoke Garden Style using flowers from FiftyFlowers.com. You will enjoy Leanne’s spotlight on the elements and principles of design in a round arrangement. Enjoy!
Welcome to the Flower School .com video library. I'm Leanne Kesler, Director of the Floral Design Institute, and today I'm here in the studio with FiftyFlowers.com. Gorgeous flowers in the blush palette to make a fabulous centerpiece. As I was preparing for this video I went to the FiftyFlowers.com website and started shopping by color. They make it easy. I knew I wanted the blush palette, updated with the more intense hues, I started by shopping peach, light pink, medium pink, coral, looking at the blush hues.
I found fabulous lisianthus, so ruffled, garden roses in the Juliet, everybody loves those, and astilbe, which is going to be quite on trend this summer thanks to the royal wedding. Then, I looked at the color bar, and scooched over to the darker, more intense, the wine, the merlot, cabernet, cranberry, marsala, burgundy, and that's where I found astrantia, also on trend due to the royal wedding. Cymbidium orchids, absolutely stunning, James Storie orchids, and then my favorite, the burgundy dahlia. Definitely a popular one with brides today.
Many people ask, "How do you know the recipe, where do you begin?" One thing I'll share with you, when you're planning your recipe, is to work profitably. Try to work in full bunches, that way you don't have leftovers that you don't get paid for. A bunch of Juliet, a bunch of astilbe, a bunch of lisianthus, a bunch of astrantia, but when you work in full bunches and you don't have leftovers you set yourself up for maximum profitability.
Fifty Flowers also has many foliages, but this design is flower centric. I didn't want a lot of foliage, but then I got to thinking, foliage does not have to be green. So, I looked for the mahogany, the burgundy ti leaves. Aren't they fabulous? Now, with these, they're a little big for a centerpiece, by taking a single UGlu Dash from the Oasis Company, placing that on the tip, on the front side, pulling it back, and then curling it around, I get a wonderful looped leaf that's perfect for this design. The container from Accent Décor, on trend with the metallics, footed, also on trend. Perfect for this centerpiece.
Now all I need to do, go back, cut the leaves and place them in, radiating out from a central binding point. And yes, I prepared ahead of time so you didn't have to watch me glue all the leaves, but spiraling outward. And again, thinking in a bunch format, so I'll use 10 leaves to set the base of this design.
Continuing in the radial format, in the round form, looking at round flowers, because that all reinforces the Juliet. Giving it a cut, and then placing some low so that they help to break the line of the container, making sure I cover my tape, hide all my mechanics. Some a little taller, coming up where they'll show well. And then the dahlias, these are so amazing, the buds are grand. Tucking those in, and then coming back with the bloom, watching its face, making sure that it looks up to the sunlight. Bring in the other bud, don't want to waste those, they're so lovely. Coming back with another. Some of the blooms are quite horizontal, their heads actually come out and then look up. How perfect is that, to extend out the sides, because then it still looks up, so that the flower's so important. Then again, bringing back the buds to accent the bloom.
As you're working and thinking in bunches you may not need every single stem. Set it aside, don't force it in, make sure you leave enough space, breathing room for the flowers. That way, if at the end there's a little hole you can go back and fill it in, you'll have a few things left over. I saved three of my dahlias, I haven't included them. Now I'm going to go on to the lisianthus, getting a little more delicate look, that brightened white variegated, they too have fabulous buds.
Sometimes the buds are a little bit longer than you need, you can cut them down, then place it in, letting it come out nice and full, then going back with the buds and adding them separately so that the size works better in the design. And come up over here, adding a little delicate touch, bringing another of the lisianthus. Making sure to bring some down low, and then others up a little higher.
Then, some of the spiky astilbe, adds a whole new texture to the design. You can go back with the foliage and add that in, or leave it out, it's up to you. I figure, I paid for it, I might want to use it, so I go ahead and set it in. Bringing it out towards the front, finding a spot to put it in so I don't crowd. Then up towards the top, all the while radiating evenly so that I come in to that central binding point. Making sure I have things down at the bottom, at the top, and the mid-level, and all sides.
As I finish I want to think about adding depth to the design, also concealing the last of my mechanics. Now, depth is accomplished by indenting some things and then extending others. This has a bit of extension from the buds and the astilbe, but I can exaggerate that even further by adding the James Storie orchids, this also will add dynamic movement to the arrangement, because it's a linear material going into a round design. Letting it come out, be a little more dramatic, finding spots to extend. You can see how it softens, giving the movement, bringing the buds in, be a little taller. Making sure if I do it on one side, bringing it over to the opposite side so that I don't end up one sided. Also, bringing it around to the back.
Then, the astrantia, it's just a beautiful delicate bloom to tuck in low, drawing the eye towards the emphasis, and making sure that all the mechanics are concealed. You're actually cutting it a little short and almost burying it on the inside. Adding that little bit of color, little bit of texture, coming around, tucking it down low, adding just a little bit of depth throughout the design.
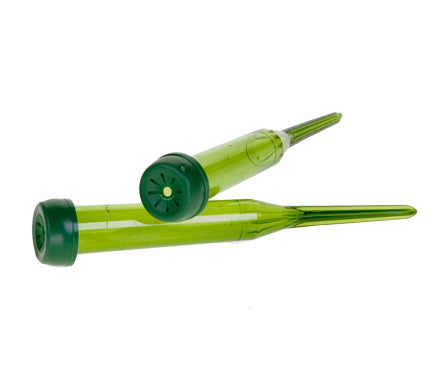
I have the round form with great depth, lots of texture, fabulous color harmony, now I want to add contrast, a little more beauty, and that's where the Cymbidiums come in. Now, this spike is just amazing, so many blooms. It's obviously far too big for the design, so instead of using it as a spike I pull off individual florets. Always pull from the bottom, that way you can keep the top intact, use it for something else. Then, their stems are far too short, and that's where you use a water tube filled with water.
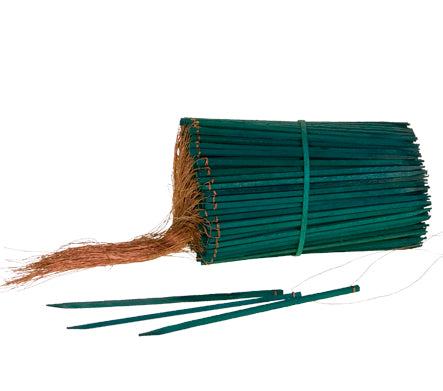
That's still too short, it's a six-inch wired wood pick, you just wrap it around the top, then come straight down to the bottom and wrap it around the bottom so you get that dual coverage. Then, you can take your bloom, give it a cut, cut the top so it's not too tight, you don't want it to be a tourniquet. Slide it in, reflex the petals, and you can place that right down into the arrangement.
Creating an amazing design is easy when you have grand flowers, thank you to FiftyFlowers.com for providing all of these. It was such fun. Then, focusing on the elements and principles, making sure the form, the space, the texture, the line, the color, all of the concepts are in there. Even if it's round it can have all the concepts of your elements and principles. Then double checking, looking at it from all sides, making sure it's truly beautiful. I must say the new blush enhanced with the darker hues of cranberry, it's really one of my favorite palettes.
For more creative inspiration check out the website, Flower School .com. The website contains hundreds of floral design how-to videos, floral design classes, online floral classes and DIY Flowers. If you have questions you can reach us through there, or pick up the telephone and give us a call, 503-223-8089. And of course, we all would love to see what you create. Take a picture, post it on social media and tag Floral Design Institute, let us all see, because now it's your turn. Have fun, and do something you love.


