Mother's Day Bespoke Design
When it comes to creating floral arrangements for Mother's Day you want large, beautiful and dramatic. In this Flower School Video How-To Demonstration Leanne shares the techniques for creating an on-trend and foam-free Bespoke Garden Style Design. You will love Leanne's contemporary approach to an opulent design filled with gorgeous flowers of the season. Enjoy!
Video Transcription
Welcome to the Flower School.com video library. I'm Leanne Kesler, director of the Floral Design Institute, and today we're going to look at a contemporary approach to Mother's Day designing, bespoke style, foam free.
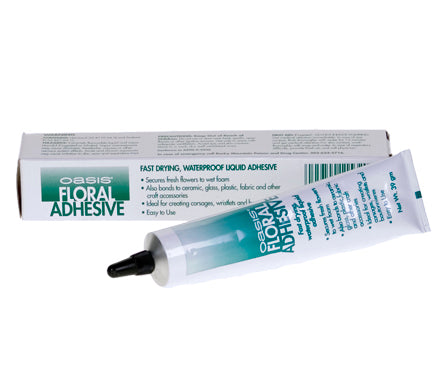
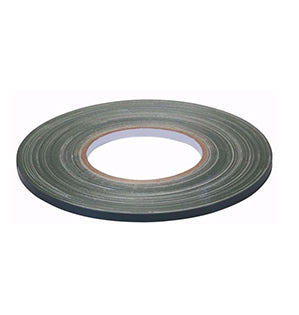
The mechanics, based on floral netting crushed into place to create an armature, then waterproof tape to hold it in place filled with flower food, water. And then flower wise, definitely starting with some of the classics. We've got garden roses, spray roses, and carnations, but adding some interesting specimens to make it even more fun. Some protea, butterfly ranunculus, berries, yes, ornamental blackberries, and viburnum.
To begin, basing some foliages, doing some large leaves, the fatsia, tucking it in, terracing, and then bringing it back out the opposite side so it draws your eye from front to back. Then for dimension, indigenous here to the Pacific Northwest, some huckleberry. Looking for any broken bits, then pruning it down a bit so it's not quite so large, giving it a cut, and then placing it in, feeding it down into the weave, getting it in there nice and deep and letting it move around. Repeating and again. And you can see by dividing it, you can spread it out a little bit more. Here's some Israeli ruscus, some towards the back and some towards the front, thinking about breaking the line of the container, feeding it in, and then filling just a bit, but making sure to leave plenty of room for all those wonderful flowers.
Spring and summer branches are so wonderful. The viburnum, just fabulous. Breaking it down a bit, cleaning it up, and then giving it a nice break so that it exposes a lot of the wood and then placing that in to start some vertical movement on a bit of the diagonal. Then coming back with additional, a little bit shorter, coming to the back shadowing slightly below and behind, helping to add support to the main arm, then coming out towards the front. You don't want it just in one area, carrying the eye through the design out from the back to the front, creating dimension.
Creating the focal emphasis will give visual weight right to the front and center of the arrangement. Using the antique carnations, fluffing them out, and then tucking them down low begins the spotlight. Repeating, even a little lower, shadowing behind. Then coming in with the caramel antique garden rose, letting it be a little longer over the top. Filling that area and repeating again, pulling the eye towards the back, and again. So that you get that central area full and lush with roses and carnations.
The main body is done. Some linear movement, the focal emphasis, and now you just want to finish filling it in. Maybe bringing in the interest of the pin cushion protea, giving it a cut, dropping it in, repeating, and down towards the front. The spray roses to get that darker hue, it just lets everything pop. Repeating. And as you work, turning it, looking at it from the various sides, making sure that you have the color balanced front to back and right to left.
Now, the details that finish it off, adding a little more texture and interest, bringing in the blackberries, feeding it through, bringing in a bit of the agonis so we have some draping qualities letting it extend outward, softening the design. And then over the top, the delicate butterfly ranunculus, so pretty. Separating the stems, get enough room, and then placing it so it's a little taller, over the top, dancing above the rest of the blooms. Repeat that, some towards the back so it's all the way around. You don't want it to be a flat arrangement. And a few more of each, the butterfly, the berries, and the agonis.
The recipe for this design is rather lengthy. We used so many wonderful materials. I started with the foliages, using three fatsia, one stem of huckleberry that I broke apart, five stems of the Israeli ruscus, and then three stems of the draping agonis to finish the design. To create the line, the viburnum, three stems that I broke apart. For the focal emphasis, I've got roses and carnations, five of each. Then for interest, three of the pin cushion protea, four of the spray roses, five of the blackberries. And to top it all off, five of the butterfly ranunculus. And you can see it's a textural masterpiece.
The inspiration from a design can come from so many different places. Maybe it's finding that perfect rose, maybe it's the butterfly ranunculus. For me, this time the inspiration started with the viburnum and then coordinating the colors. Now sometimes when we work, we don't finish the back, but this time I did because I wanted you to see how beautiful it is all the way around. It doesn't matter which side you look; it has beauty and blooms everywhere.
For more creative inspiration, you'll find it at the website, Flower School .com. If you have questions, you can reach us through there or pick up the telephone and give us a call at (503) 223-8089. Now it's your turn. Gather as many fabulous blooms as you can find and create your own bespoke style design. Be sure to take a picture, post it on social media, and hashtag Floral Design Institute, as I want to see, and so does everyone else, what you create as you do something you love.


