Retro Roses
In this video how-to demonstration Leanne plays with color as she creates a contemporary design using the nostalgic colors of red and turquoise. Curly willow painted turquoise and a mixture of foliages make up the base of this design. Red standard roses and spray roses with an enhancement of kangaroo paws complete the design. Enjoy!
Video Transcription
Welcome to the Flower School .com video library. I'm Leanne Kesler, Director of the Floral Design Institute and today I'm here to share with you a fun art influenced design focused on red roses and turquoise for a retro vibe.
The vessel, one from my personal collection, is filled with flower foam, already pre-soaked with flower food. I have spray roses and standard roses, a variety of different foliage. For the turquoise, curly willow, I sprayed it first with brilliant silver, then over sprayed it with the turquoise. By doing the two, it gives you better coverage and such fabulous, saturated color. Then we're ready to design.
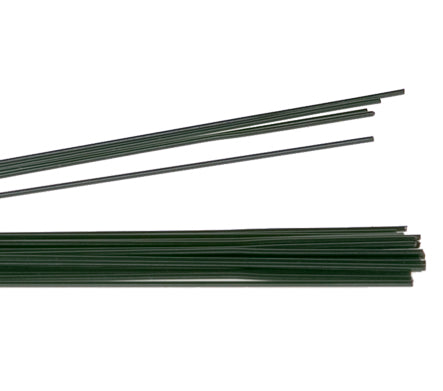
The willow is anchored in place first. Thinking about how it will lay across the container, I want it to come outward and be right about there. Then just forcing it down onto the foam. Then using an 18 gauge wire bent into a hairpin, fasten across. Repeat that. I want to make sure that's nice and stable because that will hold the whole thing in place. Then because this is just messing up the lines, it's too contradictory, taking that, folding it around and folding it around and capturing this piece as well. Bringing them back and then using a single UGlu Dash, gluing it down to the master branch.
Adding too, with yet one more branch, just feeding it in, bringing it across, lining it up and I've got that extra piece again that I'm going to want to bring around and through, winding it back around and securing this all one more time. With another 18 gauge wire, piercing down, adjusting, bringing back and over the top of the spot that I did the UGlu, coming back with another to make sure that it can't pop free.
Before I add the roses, I'll cover my mechanics, bringing in the foliage, fatsia leaves are wonderful. Give you a nice heavy foliage right at the beginning to cover quite a bit of the mechanics. Feeding it down in, letting it drape, adjusting the placement, repeating it with a second, terraced over to create depth, bringing a little bit of the pittosporum for a darker hue, keeping it down low. Beginning to break the line of the container, concealing mechanics, coming on up in. Maybe coming with a little brighter hue, using the deer fern, creating some height, grouping, getting that contrast, giving it a nice cut. That one's not going in but now it is. There we go. Little bit of huckleberry. By using several different foliages, it gives you that contrast in color and growth formation, so it makes the design more interesting. Again, breaking the line in the container. Then carrying the eye inward, keeping it grouped, a little bit around towards the back, up towards the center. Then double checking, making sure that all the mechanics are concealed, adding in foliage wherever it needs to be so you can finish off the design front and back.
As I finish the foliage, bringing some around to the back, filling in, making sure and carrying the pittosporum through, making sure all mechanics are concealed then coming back with the roses. Creating a focal emphasis using the larger ones first, just squeezing it in between the leaves. You can see that blue and red together is so wonderful. Coming up through the center, tucking them low, deep in, then coming on around to the back, so it draws your eye from front to back. Then once I have the larger roses, going back with the spray roses, letting them come out a little further, adding lightness to the sides of the design.
As you finish, you may find that you wish you had a little more of the turquoise and you can always go back and add it. I took a wood pick, added it to the stem, insert it down into the foam, tucking it in tightly. Then determining where it needs to be, giving it a cut and then just bringing it around and fastening it directly down into the foam, creating yet a little more movement to carry your light through from one side to the other. Then for contrast, texture, interest, tiny bit of kangaroo paw over on this side. Bring in the deeper red and some more texture to add interest to the arrangement.
To create this design, I have six standard roses and three spray roses and one kangaroo paw. The base was two stems of curly willow lacquered with the silver and turquoise. The foliage, I have Fatsia, pittosporum, deer fern and huckleberry. Of course, you could substitute whatever colors and foliage you would like to work with.
Designing with foliage and branches, gives you a wonderful base that's very long lasting, enhanced with roses, kangaroo paw, nothing better. You'll find more creative inspiration at the website, Flower School .com. If you have questions, you can reach us through there or pick up the telephone and give us a call at 503-223-8089. Now it's your turn. What are you going to create? What colors are you going to choose? As you design, be sure to take a picture, post it on social media and tag Floral Design Institute. That way we all can see what you do as you do something you love.


