Romantic Bridal Bouquet
Creating bridal bouquets using the Pantone Color of the Year “Living Coral” is easy. There are so many blossoms in the Living Coral hue. In this video Leanne creates a luscious, feminine bridal bouquet using flowers from Florabundance.com. The lilies were the inspiration for this bouquet. Leanne shares the technique for placing these delicate blossoms in a hand-tied bouquet without damaging the petals. Enjoy!
Welcome to the flower school.com video library. I'm Leanne Kesler, director of the Floral Design Institute, and today, I'm here to share with you a beautiful bridal bouquet inspired by the Pantone Color of the Year, Living Coral.
Living Coral can be bold, or it can be subtle. This time, I searched out a beautiful lily that has the Living Coral mixed with a buttery yellow, giving it a softer look, all of this from Florabundance.com. They had these gorgeous lilies. Then I went through and hunted through their website, they make it so easy, you can sort by color, sort by flower, started pulling things that went well with the lily. The roses, oh, my gosh, Princess Maya, this blush buttercup, this yellow, and Crème de la Crème, the more ivory with a little hint of coral at the center, gorgeous combination. Then buttery yellow lisianthus, and look at these gerberas. Aren't those fabulous for texture, and a very soft peachy coral. Then a little bit of hydrangea just to tie to all together.
As you begin your bouquet, you want to prepare all your materials ahead of time. Remove the foliage. Make sure that everything is in good condition. Then I like to start with a base of hydrangea. Gives me a nice, solid covering to begin with, then you can just add the flowers in. Maybe a rose. Bring it in at an angle, and another. As you work, just turning it in your hand, then adding in a rose. It's perfectly fine to go back and do several. Then turn, as you're working, you can sneak them in between the hydrangea blooms and underneath. Poor little guy. Dropped him on his head. There we go. Then turning. Don't want to forget the beautiful lisianthus and the gerberas. Maybe even weaving this one through so it becomes between the blooms into the center.
The palette is so soft, so feminine. You can see how the colors just blend together beautifully from the yellows into the soft coral. As I work, I keep grouping some of the materials because it adds a little more drama. See how the gerberas' all together? Then turning again. More of the lisianthus, letting it gracefully drape slightly. Coming back with more of the rose, then turning. At this point, you may want to stop and look in a mirror to see if you're balanced. Check your color placement. Do you like the way it's laying out? Then add in to finish it off, just the way you love it.
As you finish tucking in those last blooms, turning it in your hand, checking the balance, determining where you might need another lisianthus. Maybe you need another rose, maybe two lisianthus, then turning again, filling in any holes that may have appeared. Then doing one last check in the mirror to make sure it's finished.
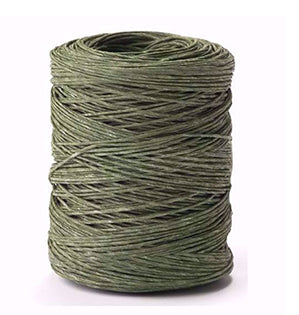
To finish the back, I chose beautiful fatsia leaves. They're long-lasting. That rich green looks beautiful with the flowers. Just adding it in, same thing, turn it, add, turn it until you get a full collar all the way around the bouquet. When everything's in place, go back with just a bit of bind wire. Tuck it under your finger. Give it a cut. Then wrap it three times around. One, two, three. Then twist it together, securing it. Then go back and cut the stems so they're all the same length.
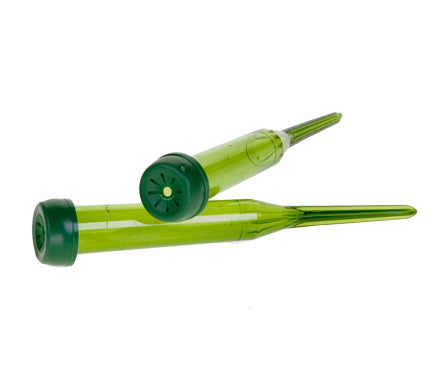
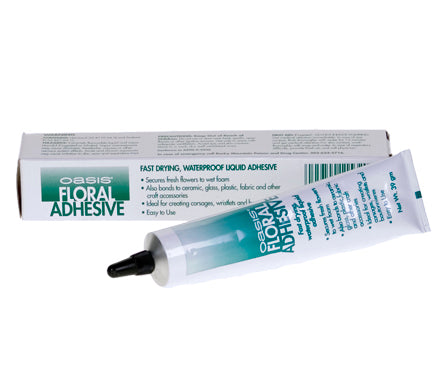
With the bouquet made, you can set it into a vessel of water, set it in a cooler, and let it wait until it's time to add ribbon and deliver. Now, you may be wondering why I started with the lilies as my inspiration with the Living Coral, but there are no lilies. Simply because if you design with the lilies from the beginning, it's so easy to damage the stems and the petals, and they get just a mess. You don't want to do that. Instead, do it last. Take the bloom. Cut it off the stem. Then using a water tube, place it right down in, making sure it gets all the way to the bottom so it's nice and deep where it'll have a lot of water to drink. Then using your Oasis Floral Adhesive, just a bit on the side of the tube, and then place it right down in the bouquet.
Now you see how the lilies truly are the beginning of a fabulous bouquet. Thanks to Florabundance.com for having so many gorgeous flowers. The lilies were the start. Then the gerberas, the roses. Oh, my goodness. For more creative inspiration, check out the website, flower school .com. If you have questions, you can reach me there, or pick up the telephone and give me a call at 503-223-8089 because now, it's your turn. Find some fabulous flowers, make a bouquet, and then take a picture. Post it on social media and tag Floral Design Institute so we all can see your creativity. Have fun and do something you love.


