Garden Rose Compote
No flower is better suited to a soft and romantic centerpiece than a garden rose...or twelve! In this Flower School How-To Video Leanne starts with a vintage silvered urn and creates a dreamy arrangement using exquisite roses from GardenRosesDirect.com, complemented by orlaya, meyeri fern, deflexus, and New Zealand pittosporum. Enjoy!
Video Transcription
Soft and romantic, garden roses are perfect for the compote centerpiece. Let me show you how it's done.
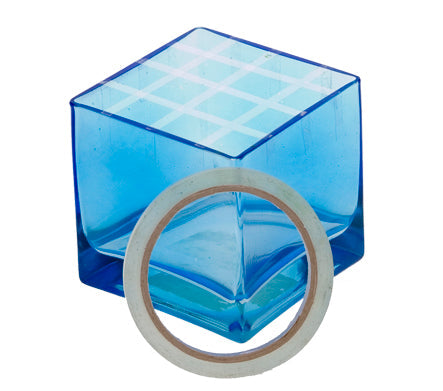
The materials, we'll use a variety of different foliages, but the star of the show, beautiful roses from Garden Roses Direct. We've got Aurora Gardens, Issei, Tie-dye, Juliet, so many different, and of course, foam-free, using a compote filled with floral netting, taped in place with clear waterproof tape and just adding fresh water pre-mixed with flower food.
If you've taken classes with us, you know I love foliage and I always recommend using at least three different varieties. Today we have multiple, more than three, all from our friends at Florabundance.com. Starting with a little bit of New Zealand pittosporum, the variegated color gives you such beautiful start to the arrangement, just like boom, we have beauty before you even begin flowering. Adding that in, radiating from a central binding point so that everything will tie together and coming back, mayeri in the asparagus family, removing the lower portion than giving it a cut, letting it come in, come upwards or outwards, kind of depends on just what design you would like. Some helecho fern, again, removing the lower portion, letting it drape outward. And then another from the asparagus family, this one, deflexus, one of my favorites, has that nice draping quality. Letting it come out, trailing towards the side. And of course some fatsia, nice big broad leaf to give contrast. So now we have variegation, draping, upward movement and the broad leaf, complete until you have a beautiful nest for all your flowers.
With the nest, now I'm ready to tuck in the roses, and they're so fabulous, and let them open out. When you get your roses, you want to bring them in several days ahead so that when they open, you've got the absolute beauty. You can see setting in the larger ones, tucking it down, giving it a turn so that the face looks upright. Then repeating, pulling the eye towards the back, then coming in with other colors. This one is so interesting, the Issei. It's a newer variety to me, and I'm falling in love with it because it has such depth of color. I'm tucking it maybe a little bit lower to draw the eye inward. The petals are slightly more ruffled than some garden roses. Everyone is so unique. Then coming in, a little more color, maybe shortening it just a bit coming to the back and then brightening. The Aurora Gardens is a new white that is just fabulous, picks up the variegation of the New Zealand pittosporum. And as I place thinking about bringing them into that central binding point, some a little longer, some a little shorter, but always radiating to create a full round arrangement.
As you finish, look around, see where you might want to add a little bit more. Maybe another of the Meyeri, adding some depth. Maybe a little bit of texture for more orlaya, letting it come in, adding just a little bit of softness, draping, repeating. Then turn it, look at from all sides. Make sure you've got everything just where you want it.
The recipe, I started with the Garden Roses from GardenRosesDirect.com. I used 12 assorted Aurora Gardens the white, Issei, the darker, then Tie-dye and Juliet for in the middle. The base, foliages combined Helecho Fern plus Meyeri and Deflexus, both in the asparagus family. Then a bit of Fatsia and the New Zealand Pittosporum for variegation. For a final touch, 12 stems of Orlaya.
There is truly nothing better than garden roses. You'll find more inspiration and education on the website, flowerSchool.com. If you have questions, you can reach us through there. Now it's your turn. Find 12 fabulous garden roses. Create an arrangement. Be sure to take a picture and post it on social media, #FloralDesignInstitute. That way we all can see what you do as you do something you love.


