Wedding Table Garland
A custom made garland filled with several exciting foliages and embellished with fresh garden roses is one of the most dramatic, cost-effective, easy-to-create and on-trend centerpieces for a wedding reception. In this video clip Leanne demonstrates how to create a gorgeous summer wedding garland as she shares the techniques for mixing flowers and foliages. Enjoy!
Welcome to the Flower School.com Video Library. I'm Leanne Kesler, director of the Floral Design Institute, and today, I want to share with you an easy technique for creating on-trend foliage garlands.
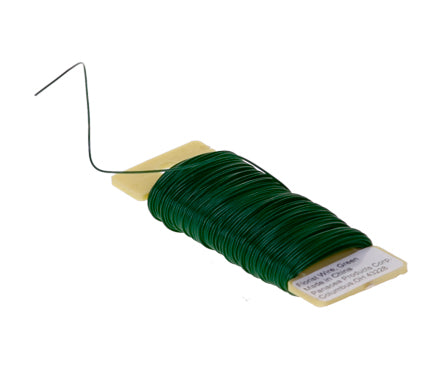
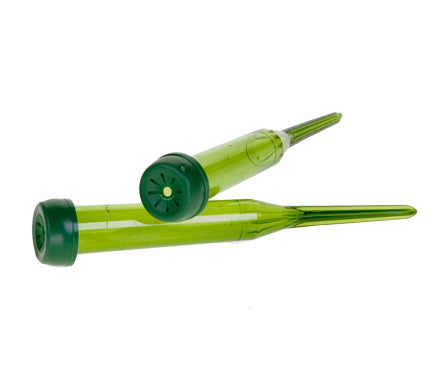
As you choose the materials for your garland, pick things you like. I personally like to use the leathery foliages because they last so much better. For mine today, camellia, juniper, Oregonia, and even curly willow for a little dynamic line. If you're going to use flowers, you're going to want to add water tubes to things. Then, for the base, I work with a rope. Look at it, make sure it can hold strong weight. I like to have at least 25-pound weight bearing, so that it doesn't break, and then paddle wire, to hold it all together.
You'll want your rope to be as long as the garland. Now, again, another hint, more than 25 feet gets very, very heavy, so you might want to do it in sections, like a 10-foot section that you just keep attaching, or at most, a 25-foot section that you keep attaching, so cut your rope to length, make sure you have your paddle wire, and then your floral materials get cut down.
You want them all to be fairly uniform in size. That way, your garland will not go fat-skinny, fat-skinny, you want it to be consistent. So, cutting it down. You can even use the end pieces. They won't show where you cut. Dividing it out. Do this all ahead of time and lay it out, so that when you go to assemble, you're ready, and you can just keep winding.
As you assemble, gather the foliages in your hand, making little clusters. Then taking it, attaching it to the rope using the paddle wire, wrapping very snugly, leaving an extra end that you can use to attach at the finish, if you would like. Especially if you're doing multiple pieces to assemble together. You just want that little extra leg. Adding together. The fuller you want your garland, the bigger your clusters. If you want just a little garland, smaller clusters, adding in the curly willow. Then, again, laying it against the rope, just overlapping a tiny bit, and then clustering it around, pulling snugly, because it will dehydrate, and as it dehydrates, it could loosen, and you don't want it to fall apart. That's the main reason for putting the rope in there, so that as it dehydrates and starts to stretch from the weight, the rope keeps it together, so you don't end up with gaps.
As you can see, the garland is gorgeous. The back, a little bit flatter. You can do it all the way around, if you'd like, but this one I'm making so that it will lay flat, and you just keep adding. I'm gathering in another cluster by hand. Again, thinking about consistency, you want the size of each bundle to stay the same so that you don't end up with waves of size throughout the garland. Gathering it together. Pulling off a little bit on the end, there. Then, laying it against, overlapping, and then wrapping, once again, round and round. When you get to the end of your garland, you want to take one more bunch and reverse it.
I'm going to add a little bit of the willow in, and then turn it opposite so that you'd get a finished end on both ends, secure it in place, again, wrapping snugly to finish it off. At this point, you can knot it, and by doing that, you just wrap it around, pull it through, on itself. Pull snug, and then do that again. With one more knot, wrap around, through on itself, pull snug. That way you know it won't fall apart.
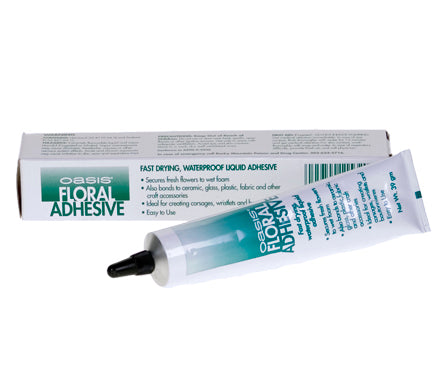
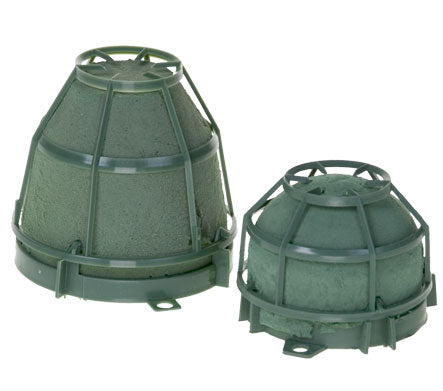
Once your garland is complete, spray it down with Crowning Glory, let it dry. You can roll it up, put it in a garbage bag, and put it into your flower cooler, and it will hold for weeks, literally, just like foliage does in a box. It can last and last and last. Then, when it's time to enhance, unroll it, bring it out, lay it out. If you've got a gap that you don't like, you can always glue in a little bit of foliage to fill in a hole. If you want to add flowers, often, I just use water tubes, because you can just take your flowers, set them in the tube, and then tuck them right in. You can glue it. Often times, you can just wedge it in there, and you don't even need to glue it. Up to you. If you're going to do more flowers, you might want to use an Iglu, so that you have a water source, or some of the garland cages or even the grande Iglu, the larger size.
Any way you do it, it can be absolutely gorgeous. Now you know the techniques for creating a garland. If you need it even fuller, just double it, and it works incredibly well. You want it super full? Triple it. You can just keep layering as much garland as you would like. Yes, there are commercial sources for purchasing garland, but sometimes, you want that personal touch of creating it yourself. For more creative inspiration, check out the website, Flower School.com. For more creative inspiration check out the website flower school .com. The website contains hundreds of floral design how-to videos, floral design classes, online floral classes and DIY Flowers.
If you've got questions, you can reach us there, or give us a call at 503-223-8089 and of course, I'd love to see what you create. You can send it to my personal e-mail, Leanne@floraldesigninstitute.com, or post a photo on social media and tag Floral Design Institute, so we all can see. Now, it's your turn. Have fun, and do something you love.


