Woodland Garden Centerpiece
Welcome to The Flower School .com video library. I'm Leanne Kesler, Director of The Floral Design Institute. Today, I want to share with you a woodland garden centerpiece. We'll be incorporating fabulous lichen covered branches found right here in the Pacific Northwest and then local grown garden flowers found right here, right outside of Portland.
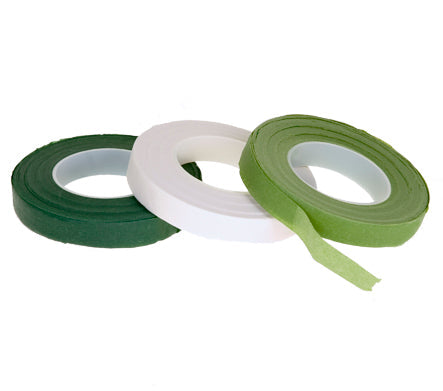
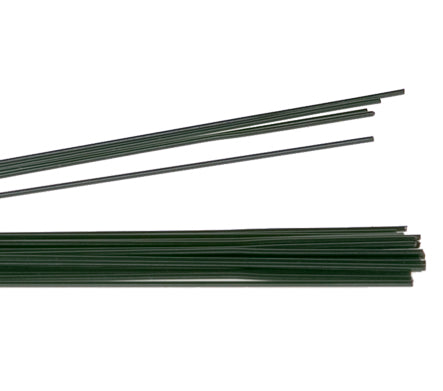
The base. A wooden box lined with a heavy duty garbage bag. I didn't have a plastic liner that would fit. Then, foam pre-soaked with flower food. Before I begin flowering, I want to place my branches in and secure them. One coming out to the right and one to the left, thinking about how they'll balance. Placing them in. Which do I want on top? Which underneath? Angling them. I think I'm going to go that way so that this will come a little bit over the top, angling it a bit more. Reason is, I'm trying to hide the cut ends. Once I get all the flowers in there, I don't want these raw ends to show. I want to angle them so that they'll be a little bit concealed and look good from both sides. There we go. Then, using taped wire, 18 gauge pre-taped. Fold it into a U and then right over the top of the branches, anchoring that down in securely. Repeat that. You don't want these to fall out. Hair pinning them in place, and again, and more on last, this one a little bit longer coming in from the side capturing that arm just to make sure it doesn't shift.
Next, I want to add the foliages. That will help conceal my mechanics and also help to lock the branches in place. The wire holds it. Yes, I can move it. I can deliver it. Pick it up. Not a problem, but I want to make double sure. Plus, I do need to conceal mechanics. Starting with maybe a little fatsia, bringing it into the side, tucking it. Maybe a second leaf terraced over the top adding a little dimension. Thinking about the center. Bringing in viburnum berries. They're heavy. They're strong. Placing it so that it leans over the top of the branches because that helps to push down on them to make sure they can't come loose. Maybe doing the same thing on this branch leaning over the top. Everything going into a central binding point. This also enhances the focal emphasis, because it draws attention to the center of the arrangement. Then coming back. Maybe one more of the fatsia, coming out towards the front. Tucking it in low, and brightening it with a little euonymus, the variegated hue. Come out a little longer to the side. If I do variegated on one side, I want to draw your eye through. So, maybe bring a little to the back and then also a little bit to the opposite side, brightening so that I have that beautiful all the way around centerpiece.
The base of the centerpiece is beautiful with just the foliage. You could stop here, conceal the rest of your mechanics and not even add flowers, but of course, I want more. I'll add the flowers. I have some heliopsis. I have some black eyed susans. I have chamomile. All the fun things from the summer garden. Cutting it down and then making sure that it goes deeply into the water so that it doesn't fade early. Another grouped with that, and then coming out a little bit more towards the front and adding the buds. They're delightful as well. Find a little spot to feed them in so that they're right with the flower, just as they would have grown. A little bit of the chamomile. This is so delicate and lacy. Then, thinking about both sides, front and back, right and left. All of that. Filling in with a little bit of everything until it's absolutely finished and fabulous.
You can see the design has so much space, open areas. A little bit of airiness. I little more on trend from the compact designs, but you need substance at the base to make sure all your mechanics are concealed and to give you enough visual weight to support all of this excitement. For that, just a few of the green trick dianthus cut very short and then placed in, almost like a moss covering to add dimension and pull the eye into the design. Then, as you are working, make sure that you turn it looking at the reverse, and again, covering your mechanics there as well.
I love the fact that it is on trend and in style to be an American grown flower farmer. So many of our graduates are going out and starting their own flower farms. That's where we get the amazing materials like you see here.
For more creative inspiration, check out our website at Flower School .com. If you have questions, you can reach us through there or pick up the telephone and give me a call. I really do love to hear from you.
Now, I want to see what you create. Go gather fabulous flowers, create a design, photo and then post it on social media. Tag Floral Design Institute so we all can see, because now it's your turn. Have fun and do something you love.


