Christmas Kissing Ball
Mistletoe has long been known as the traditional Christmas kissing green, but did you know there are also Christmas kissing balls? Yes, it's true! This tradition began in England during the Middle Ages, and was revived during the Victorian Era. This is where the fusion between mistletoe and the kissing ball evolved into the contemporary holiday decoration that fills the home with a bit of Christmas whimsy and a touch of romance. In this week's slide show Callie DeWolf AIFD will show you how to create your very own Christmas Kissing Ball, just in time for the holiday party season!
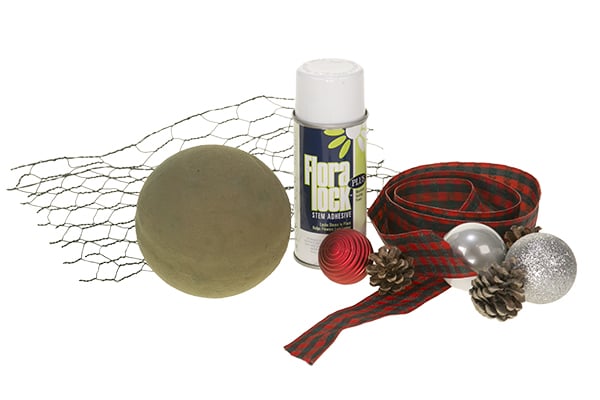
STEP ONE:
Begin by gathering a few holiday treasures: a bit of ribbon, some cones, and an assortment of shiny ornaments. A pre-formed Oasis orb will create the base for this design. The wet foam will allow the evergreens to have a water source, keeping them fresh and happy through out the holiday season.
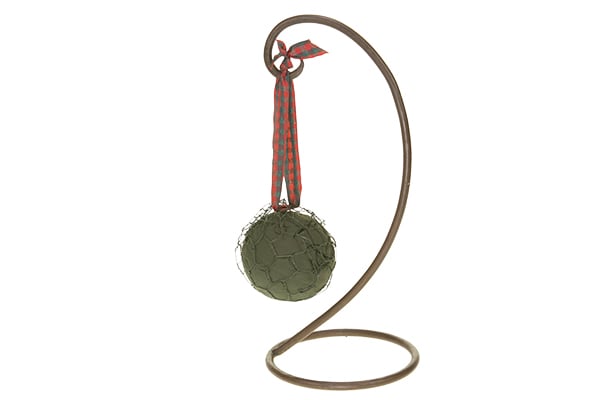
STEP TWO:
Soak the orb in water with floral food, and gently wrap the chicken wire around the form. The wire will add additional structure and support to the orb, ensuring the weight of the evergreens will not compromise the integrity of the foam. This wire structure also makes it easy to attach the ribbon handle.
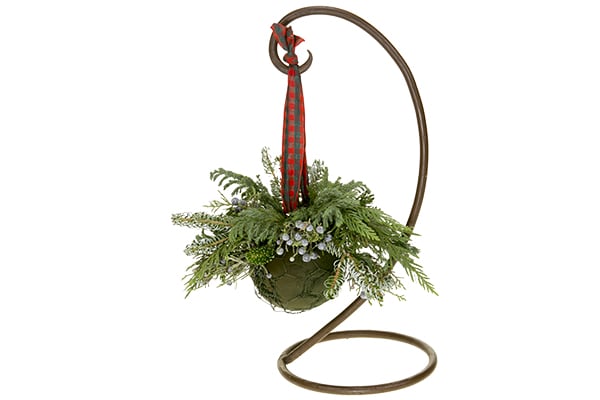
STEP THREE:
Once the mechanics are in place it is time to begin placing the greenery. Start at the very top of the ball and work your way down towards the bottom-by doing so there will be ample room to place the greenery. Cedar, juniper, pine, fir, and hemlock create lush festive textures. Bonus, the fresh evergreens will fill the air with the lovely natural scent of the holiday season.
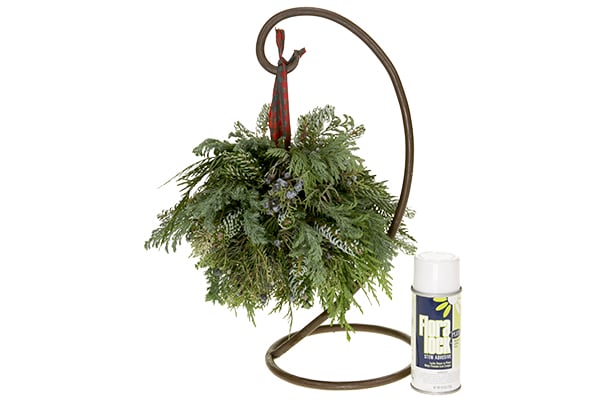
STEP FOUR:
When the orb is completely covered use Stem Lock to secure the greens in place. Stem Lock is a spray adhesive that acts like a kind of netting. Adding this extra layer of security ensures nothing will come lose and land on a smooching couple. Simply nestle the provided straw through the foliage and spray the entire base of the orb. Another helpful hint: once the glue is dry, spray the floral design with Crowning Glory—this too will help to keep the arrangement fresh through the Christmas season.
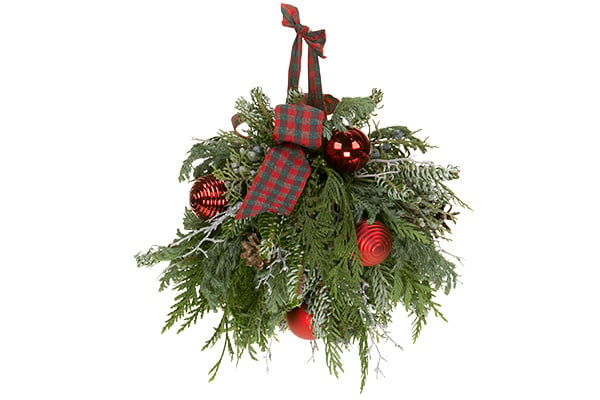
STEP FIVE:
Embellish with finishing touches of cones, ornaments, bits of ribbon, and of course a touch of glitter—because it can’t be Christmas without glitter! Giggle!

STEP SIX:
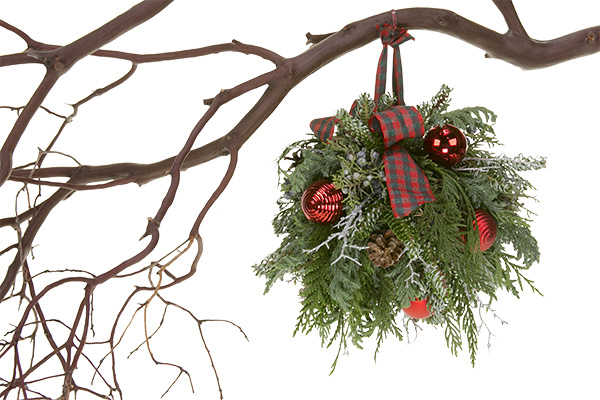
Now, hang the Christmas Kissing Ball from any doorway or entry and pucker up for a Christmas kiss!
Thank you to FDI Instructor Callie DeWolf AIFD for this lovely holiday Christmas Kissing Ball. If you would like to learn more, join us in the Classroom or Online and study the theories and techniques of design with the Floral Design Institute Teachers.